You overslept and woke up late. And now you are panicking because you have not yet prepared the clothes you will be wearing for your job interview. However, the real concern is that you do not even know how to iron clothes! Do not worry because we got your back!
What is ironing?
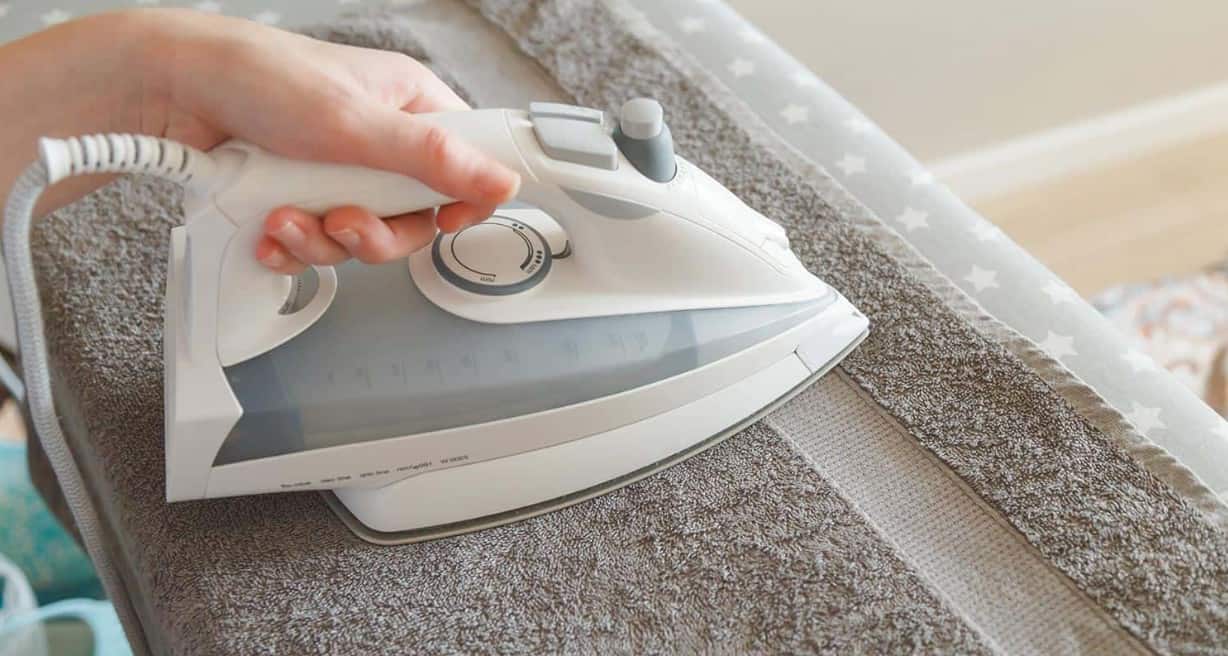
The next step after you launder your clothes is ironing. You do it to make your clothes more presentable, tidy, and crisp by removing any wrinkles and folds that have occurred while it was in the washer and tumble dryer.
Ironing is a process done by moving a hot iron from side to side of clothing to remove folds, wrinkles, and creases.
Clothes that require ironing are typically worn for formal and professional occasions, such as coats, dresses, pants, polos, and shirts.
Undergarments and clothes often used at home and for a casual look do not need to undergo the ironing stage.
Things you need when ironing clothes
After washing your clothes, you have to make them more presentable in preparation for your incoming job interview. You cannot get those wrinkles off your clothes without using the right equipment to iron them. Therefore, make sure that you prepare and have this equipment before your ironing session.
Ironing Board
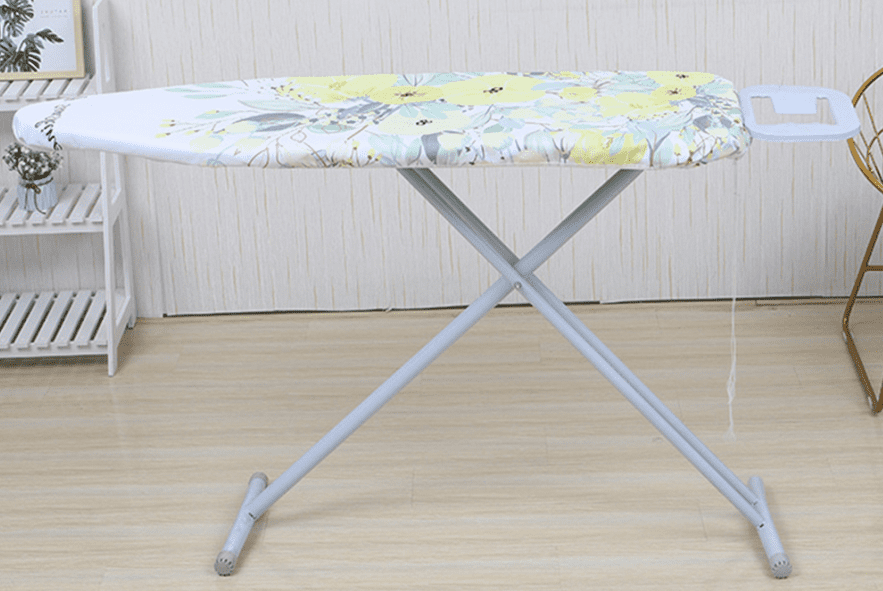
An ironing board is long and narrow with a tapered end, covered with a soft material or fabric. It also has a metal plate on the other end where you put your iron.
It also has folding and flexible legs that you can adjust according to your preferred height. It is a board where clothes that require ironing are placed.
Learn how to make your own ironing board by watching this tutorial
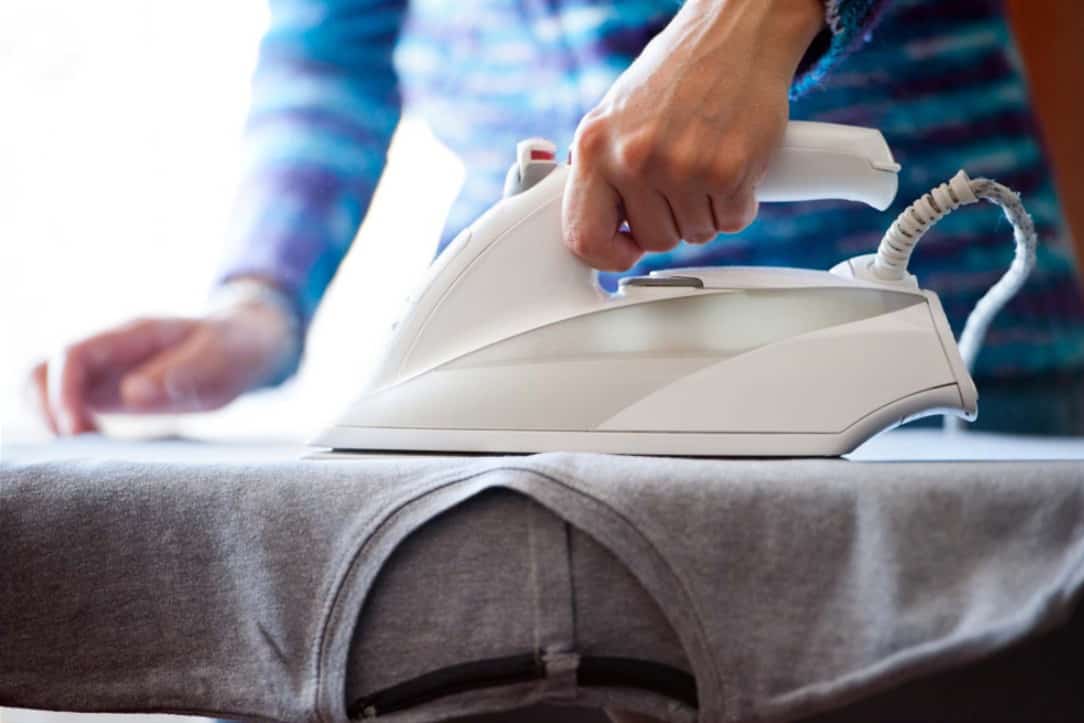
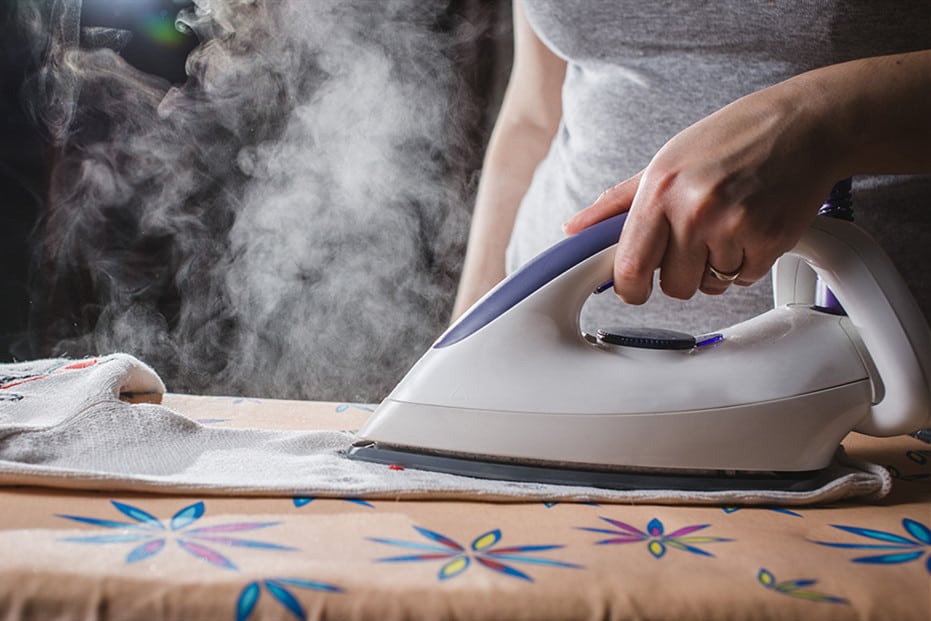
Iron
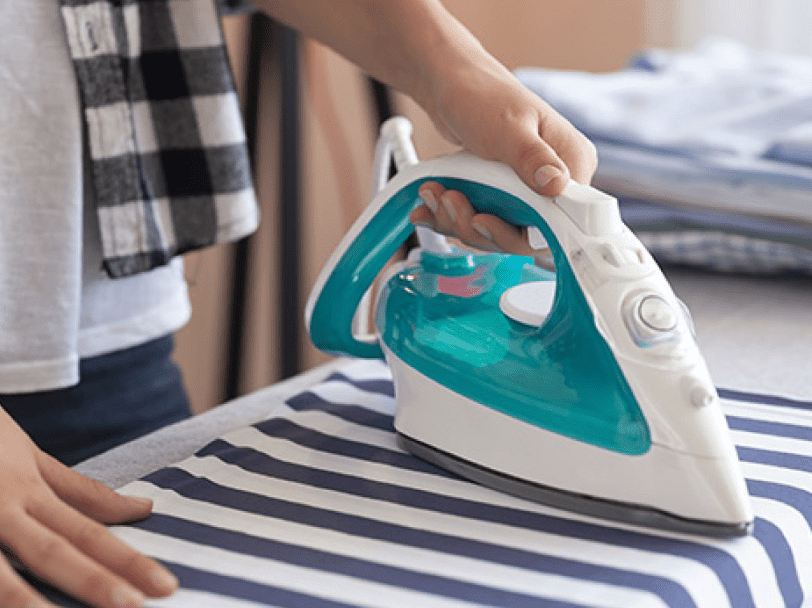
Different kinds of clothes iron vary according to size, shape, and usage. It is a small and compact appliance that heats up and presses clothes to remove wrinkles and creases.
Hangers
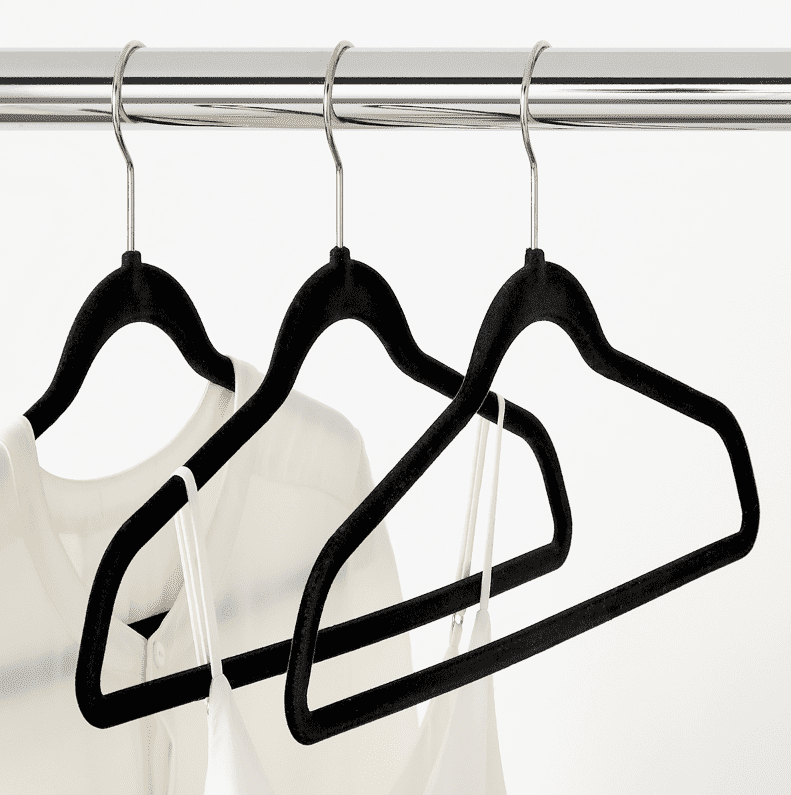
A hanger has different sizes, which are made of plastic, wood, and metal. It has a hook on its head.
A hanger is used to hang clothes either after laundry for the drying process or keep the clothes in shape and free from wrinkles and creases after the ironing process.
Spray Bottle
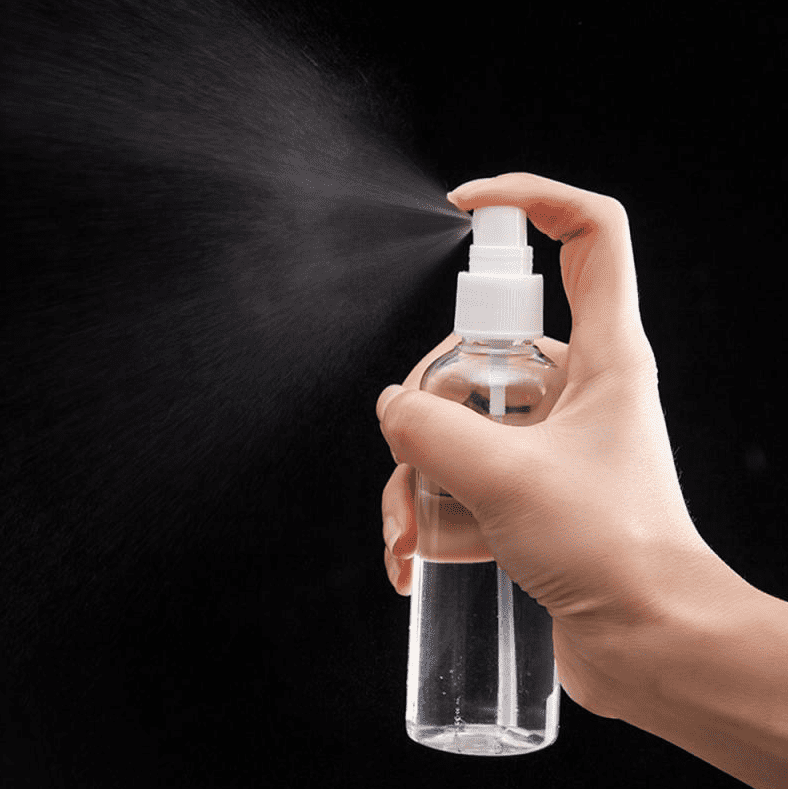
Although this is optional, some people recommend having a spray bottle filled with water as clothes that are a little wet are much easier to remove their creases and wrinkles.
Tips on how to Iron different kinds of Fabrics
We have already established that all fabrics differ from one another when it comes to characteristics. Therefore, the ironing approach of one material to another also differs.
1. Ironing acetate fabric
Acetate is a synthetic fabric that is made out of wood pulp or cellulose. It is frequently used to make formal and occasional wear and wedding dresses. The acetate fabric is being ironed inside-out at low heat.
2. Ironing an acrylic fabric
When ironing an acrylic fabric, cover it with a press cloth and use the lowest heat setting. It is a type of fabric that is commonly used to make socks, hats, and jumpers.
Instead of the usual back and forth direction of ironing, the acrylic fabric is being ironed by simply pressing it down gently.
You can start ironing an acrylic fabric once it is absolutely dry because there is a tendency for you might stretch it. It is also not advisable to use a steamer for acrylic material.
3. Ironing cashmere fabric
Although a cashmere fabric does not necessarily need to undergo the ironing process due to its delicate and soft characteristics, you can leave it on a flat surface to let it air dry.
If it needs to be ironed, you may do so as long as the temperature is at the lowest level. Make sure to move in quick yet gentle strokes.
4. Ironing corduroy
A corduroy should be ironed inside out with a low heat level. Once done with the ironing process, brush down the line of the pile to keep the distinctive and unique texture of the corduroy.
5. Ironing cotton and cotton blends
The best time to iron any fabrics made of cotton is while it is still a little damp and at a high temperature level. Although some may require less heat than usual, it is advisable to double-check the garment’s care label instructions.
6. Ironing denim
Anyone in charge of ironing their clothes in their household knows how difficult it is to iron denim. It requires a lot of patience and pressure to remove the creases.
Set the heat temperature at the highest level firmly press onto the denim, and do strokes back and forth. Continue doing so until the denim is entirely and perfectly flattened out.
7. Ironing embroidery and lace
Clothes that are embroidered and with lace are one of the key features of any vintage garment. Such clothing is back at it again in the fashion trend even though it is a bit high maintenance as it requires special care.
Place a press cloth on top of the embroidery and lace that are faced down before ironing them. If you do not know how to identify the backside, you may search for a loose thread.
Iron the embroidered and lace garments using the lowest heat setting, gently pressing down with light strokes.
8. Ironing linen
Linen clothes do not need to be ironed all the time as they are intended to look informal. However, if you are a person who always prefers to have neat and wrinkle-free clothes, then you may do so by setting the heat temperature at a high level while the fabric is still damp.
9. Ironing nylon and polyester
Since nylon and polyester are synthetic fabrics made out of plastic, you have to wait until they are almost dry before ironing them. Set the heat temperature at the lowest level and place a press cloth on top of it.
10. Ironing a rayon
Rayon is a synthetic material that is made out of either wood pulp or cellulose. Set the heat level to low when ironing a rayon fabric. Avoid using a steamer as it can stretch the fabric and then eventually damage it.
11. Ironing silk
In order to protect your silk clothes from the iron, it is advisable to either flip the silk fabric inside-out or place it in between a press cloth and a white sheet.
Set the heat temperature to the lowest level, make quick and gentle strokes, and never stay on only one spot as it may burn the fabric. Avoid using a steamer.
12. Ironing wool and wool blends
When it comes to ironing wool and wool blends, make sure to set it to low heat temperature and iron it only when it is damp. It is advisable to use a steamer and avoid ironing when it is dry to prevent any damage.
Tips on how to Iron tricky parts of your clothes
Although ironing clothes is relatively simpler than doing the laundry, some people still find it challenging to do the ironing process when dealing with different kinds of fabrics, especially on the tricky parts of your clothing.
13. How to iron Collars of shirts
Frequently, formal clothes are collared. It is the highlight of your shirt which makes you look more professional while framing your face well.
To make it easier for you to iron the collars of your shirts, ensure that it is a little damp. Next is to flip the collar open and place the shirt lying on the board with its back facing upward.
Hold the collar and start ironing from one point until the end of the other corner. Do the same process after flipping the shirt.
14. How to iron areas around buttons
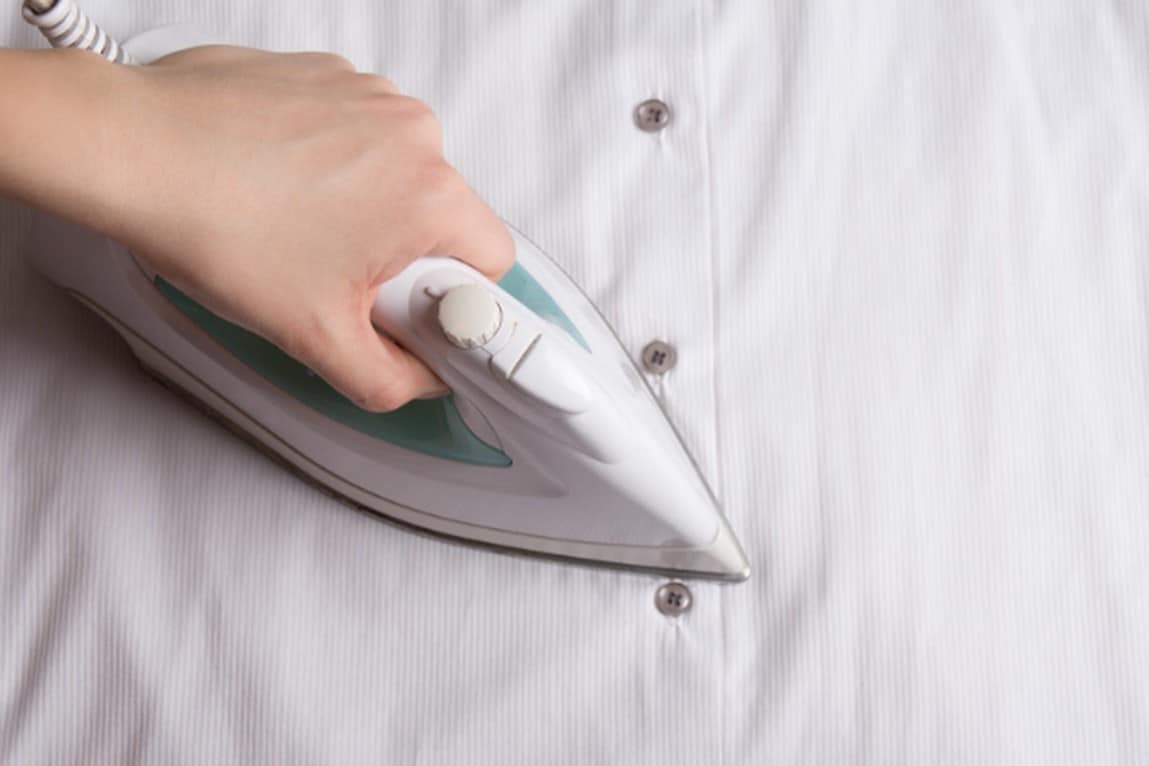
Another tricky part of ironing your clothes is dealing with buttons because they may be damaged by the heat coming from the iron. It is pretty annoying to iron the area around the button, especially when your goal is to make it perfectly wrinkle-free.
When dealing with buttons during the ironing process, you either iron the inner side shirt or use a narrow point or the iron tip and press carefully around the buttons.
15. How to iron sleeves

It is much easier to iron the sleeves if there is an available sleeve board. But if there is none, you do not have a choice but to iron two fabrics on top of each other all at once.
Make sure that the sleeves are laid flat on a smooth surface, then make a gentle stroke from the top of the sleeve down to the cuffs. Flip the sleeve and do the same thing again until you no longer see any creases. Do the same thing on the other sleeve.
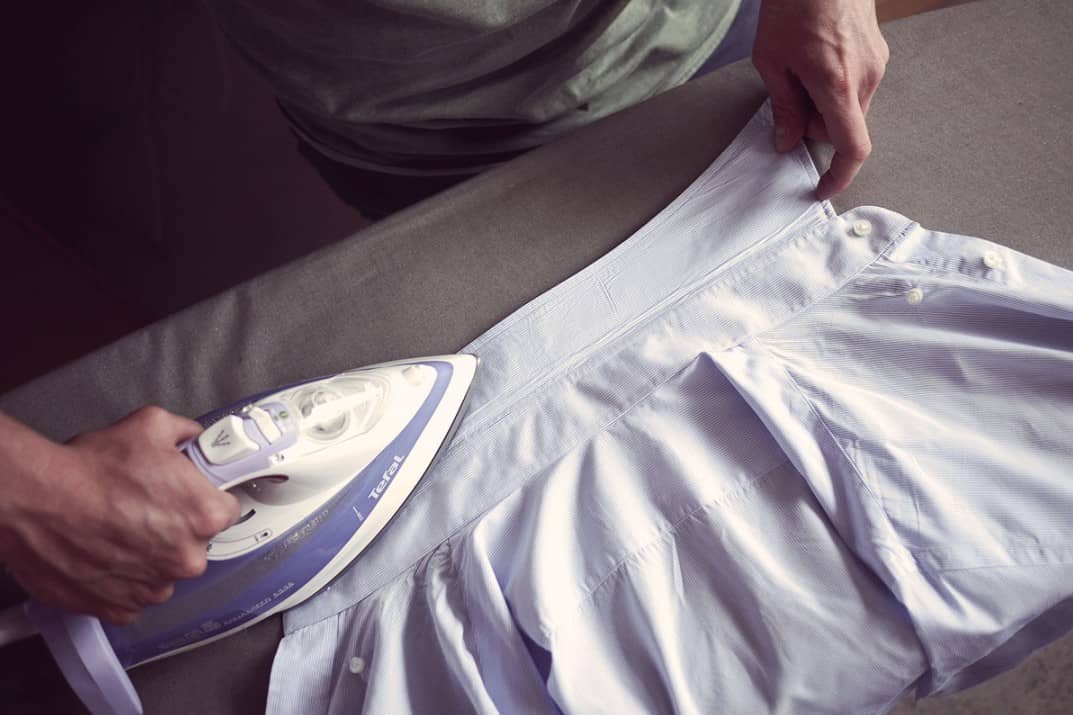
16. How to iron pleats
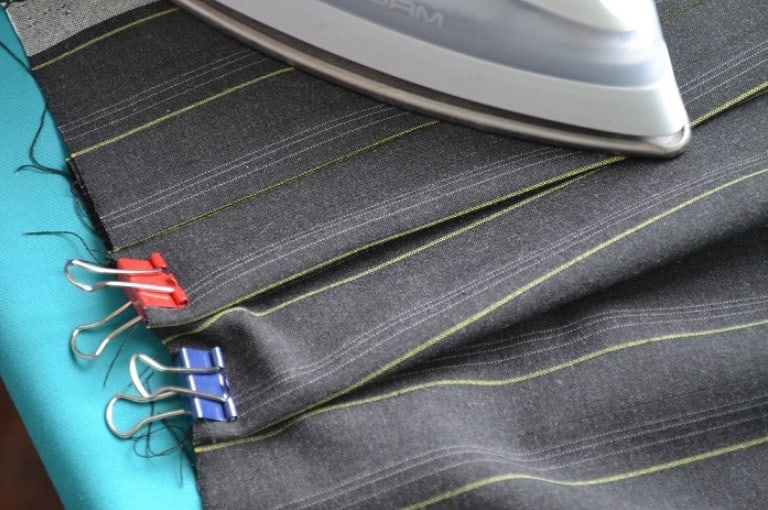
Anyone who has done ironing a pleated skirt understands how frustrating it is to get off the creases. But there is a trick that can help you make it a bit easier than it is. Try slipping the dress or the skirt onto the ironing board to rotate the clothing as you go along the ironing process.
You can opt to use either a bobby pin or paperclip to hold each pleat into place and achieve perfect pleats. Iron flat each pleat from top to bottom, continuously pressing until you no longer see any creases.
17. How to iron beaded fabrics
One of the tedious fabrics to be ironed is the beaded ones. Just one small mistake, then you could end up ruining your favorite dress or skirt.
It all depends on how the beads are placed on your garment, may it be stitched or just glued. Your true challenge is when it is attached only with glue, which tends to be melted by the heat coming from the iron.
The best technique is to make sure that you place a muslin cloth or any extra fabric that you have in between the iron and the dress or skirt.
Summary
Now that you know how to iron clothes properly, you can approach your job interview with confidence, looking presentable and ready to make a great impression. Let’s admit, sometimes, first impressions last! So do not let the wrinkles on your clothes affect their first impression on you!

Jessica Oliver is a fashion enthusiast with more than ten years of experience in the industry. She previously managed her own clothing store in New York before becoming a mother of three. With a passion for sustainability and a desire to share clothing care and recycling tips.