Learning how to embroider clothes doesn’t have to be tough. It shouldn’t feel like an unattainable goal, too. Getting into it is easy, and it’s a low-cost hobby! So, if you want to give it a try, keep reading to discover basic things you need to know to embroider clothes.
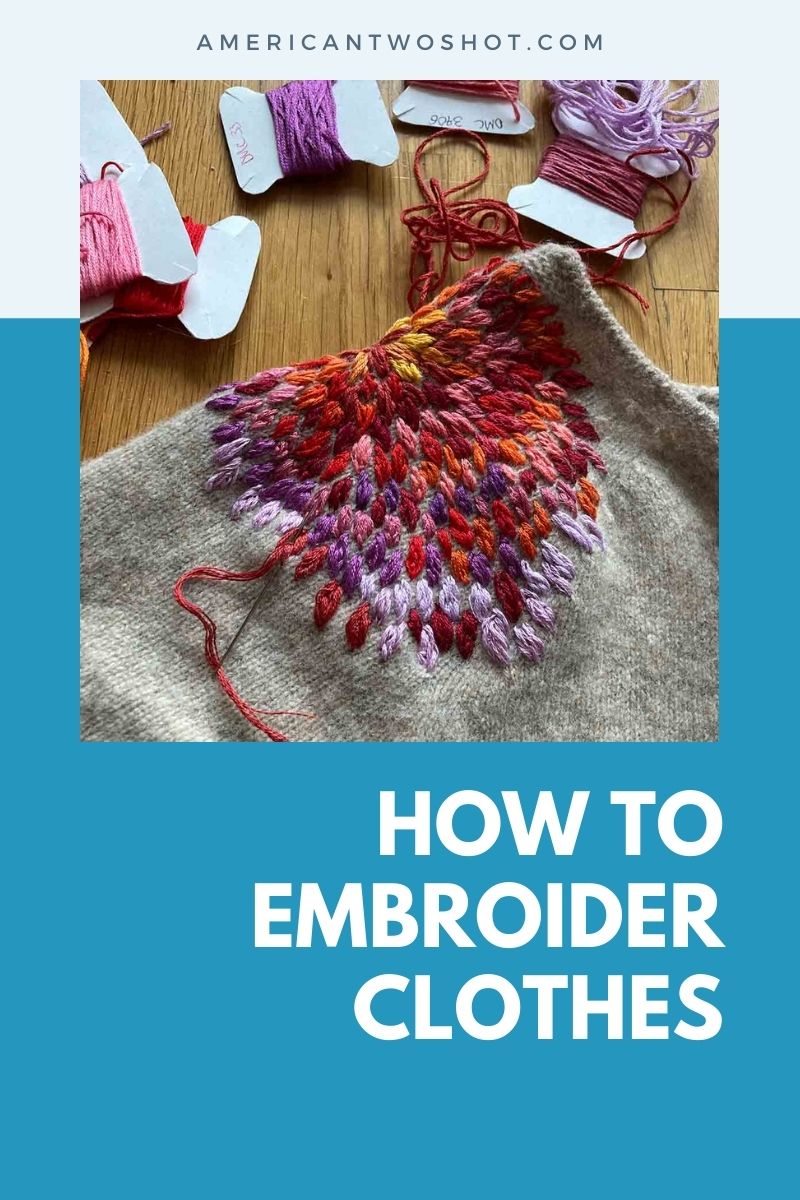
Hand Embroidery

Choose a garment
If this is your first time embroidering, start with a simple, non-stretchy fabric like cotton. It won’t shrink or distort nearly as much over time.
Also, never attempt to embroider on areas with several layers of cloth, such as plackets or collars. Try them only after a lot of practice on single fabric layers.
Prepare materials
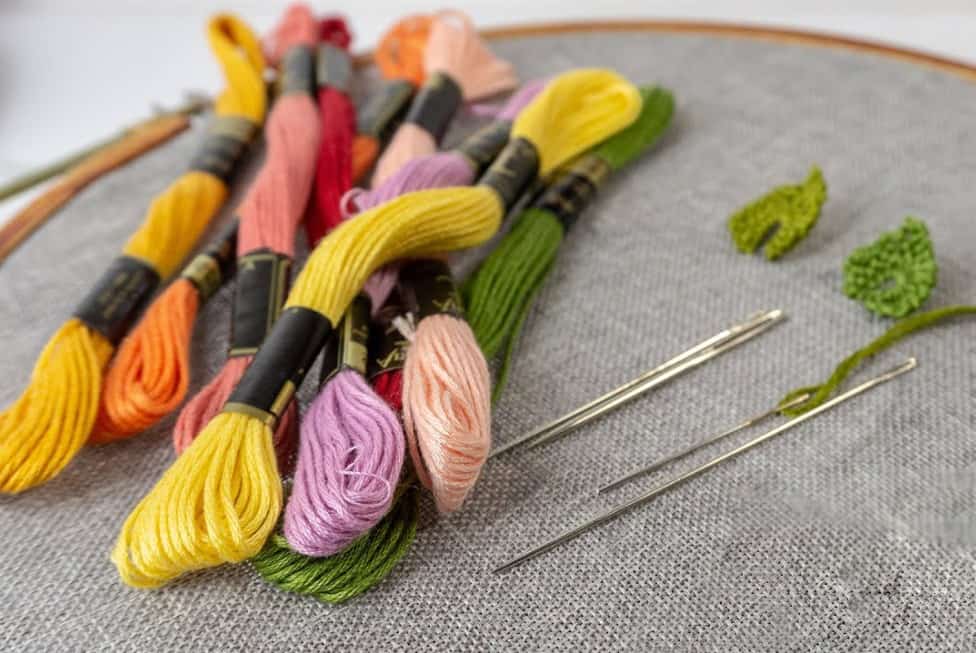
To embroider on clothing, you don’t need much. Scissors, embroidery threads, long and thin needles, hoops, straight pins, and a sharp HB pencil to create a design on fabric are all you’ll need. If you need to transfer the design, you’ll need a carbon sheet.
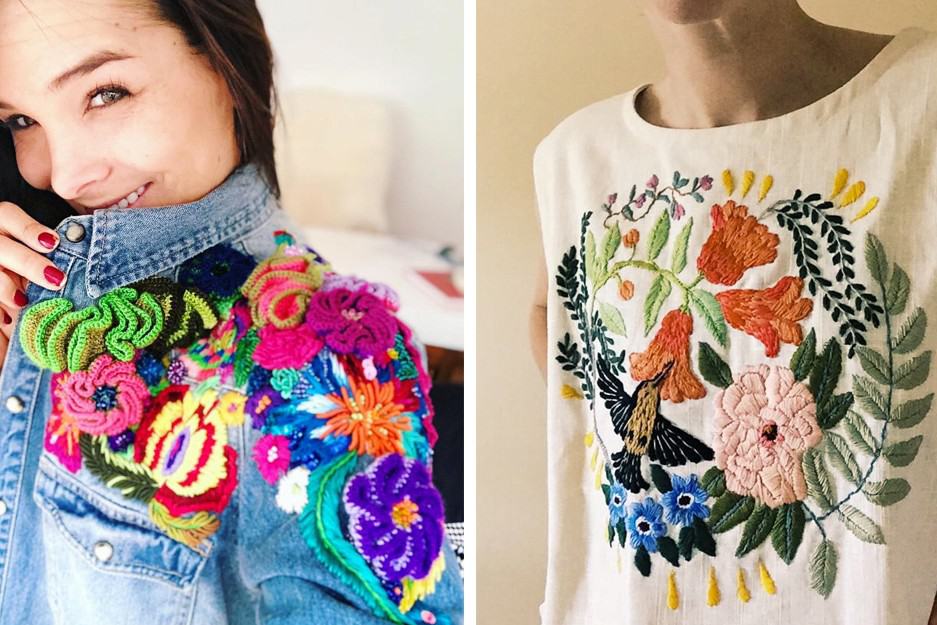
Decide where you want the embroidery to go
You can embroider on areas such as the cuffs, the back, the pockets, the front (diagonally), the collars, one side of the yoke, or both sides.
Choose a design and appropriate color scheme
The fabric and type of garment will have a big impact on the design you choose. A baby outfit, for instance, demands a little French knot blossom, not some complex patterns.
If your preferred design doesn’t fit your garment’s size, you can resize it. One way is to draft it on a grid and replicate it square by square, adjusting the scale as needed. Reverse the directions if you want to make it smaller.
You can also take your design and color it in with some colored pencils to see how the color combination you want will look in the end.
Prepare the clothing for embroidery
Prewash the clothing to remove excess sizing and to avoid shrinking. Doing this is vital since puckers may occur if the fabric of your garment shrinks later, but your embroidery stitches do not. Then, press out all wrinkles after drying.
If you’re embroidering on t-shirts made of thin, flexible knit fabric or thin textiles like silk, you might wish to apply a stabilizer on the back for extra support.
Select embroidery thread
Although their sheen and elegance may attract you to buy them, silk and rayon can be tough to work with for newbies, and bright colors may bleed. You can prewash the thread to guarantee it does not bleed after use.
When wet, some bright colors, such as red and pink, may bleed and run on your clothing, even if they are from reputable manufacturers.
If they do, wash them until the bleeding stops, then stretch them out to dry. Add some salt or vinegar to the final rinse water.
Transfer the design
Drawing the design freehand with water-soluble pens is the simplest way to begin embroidering. After you’ve finished the embroidery, the ink fades out.
You can copy the pattern in a variety of ways. The simplest method is to print the pattern and then transfer it to carbon paper. You can also buy preprinted embroidered designs and iron them onto fabric.
Start embroidering
Wash your hands before you begin embroidering and after each break, especially after going to the kitchen. Turmeric, oil, and even sweat can leave stains on your clothing.
Cut a 25-inch length of thread and thread it onto your needle. Use only one strand of embroidery thread on your needle if you want fine, delicate work.
If you are in a rush or embroidering on tough fabrics, you can fill the design with three strands of thread, but it won’t be as fine as if you used just one.
When you’ve finished the embroidery, secure the remaining end with a double or triple knot on the inside of the garment. Also, trim any surplus length.
Wash the embroidered garment
After embroidering, wash the clothing by hand with a very light detergent mixed with lukewarm water. If there are stains on the clothing, spot clean them with dishwashing liquid.
Instead of wringing the clothes out by hand, place the garment between large towels to absorb the water. You can also speed up the process by using a hairdryer. Instead of hanging the garment in the shade, lay it flat.
You can wash the clothing in the washing machine after the first wash if you want to. Use a laundry bag to wash your clothes. Add some vinegar to the final rinse to brighten the colors.
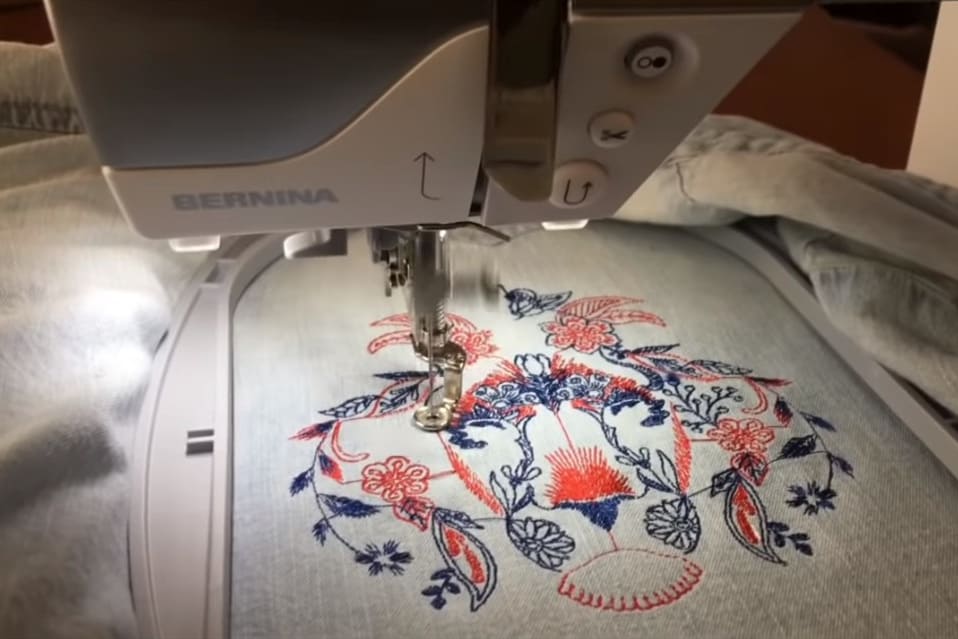
Machine Embroidery
Types of Embroidery Machines
If you want to embroider your garments with a machine, you can pick from three basic types listed in the table below.
| Embroidery Machine Type | Function |
| Embroidery only | Can only sew machine embroidery and not straight lines or other stitches. |
| Embroidery and Sewing Combo | Can shift between embroidery and sewing |
| Multi-needle Embroidery | Can load up to about 4-10 thread colors and can stitch in all those colors without stopping for color changes. |
The hoop size is a crucial factor to consider when purchasing an embroidery machine. Each machine is designed to accommodate specific hoop sizes, and you generally can’t use larger hoops than the machine is designed for.
Bear in mind that you’re limited by the size of the hoop your machine can handle. So, if you have to choose between two embroidery machines and one accommodates a larger hoop, it’s better to select that one.
Basic Steps to Follow in Machine Embroidery
Before embroidering, always prewash the garment. Doing this gives the fabric a chance to shrink before being embroidered. If the garment shrinks afterward, the design will almost certainly pucker.
Step 1. Decide where you want your embroidery design to go
On your garment, draw a circle in the center of the pattern. You can use a water-soluble fabric marker or a chalk wheel to do this.
If you’re unsure about design placement, you can print a template from your embroidery software and position it on your garment to visualize it.
then mark the placement. You can also check some embroidery placement guides online for recommendations.
Step 2. Hoop your clothing and stabilizer together
Flip your shirt inside out and stick your stabilizer to the back of the shirt you want to embroider. The stabilizer should be at least an inch bigger than your hoop size on both sides. If you’re using a fusible stabilizer, iron it on rather than spray it.
Make sure the center of your marked area and the center of your hoop are aligned. If your design doesn’t perfectly match the desired area on the garment, once loaded into your embroidery machine, you can adjust its position or rotate it to align with the specified center.
If the placement isn’t correct, release the fabric totally from the hoop and start over. Never try to stretch and pull the garment into the proper position.
Step 3. Preparing and Securing Your Garment for Embroidery
Double-check that you’re using the appropriate bobbin thread color, embroidery needle, and embroidery thread type.
Pull the shirt’s back out from beneath the hoop and secure it to the machine.
Fasten sections of the garment that are not hooped. You don’t want them to get in the way of the embroidered area. To prevent them from getting entangled accidentally, use claw hair clips, clothespins, or painter’s tape. Just make sure your fasteners don’t get caught in the needles of your machine once it starts stitching.
Step 4. Post-Embroidery Care and Clean-Up
When you’ve finished your embroidery, take the hoop from the machine and let go of your garment.
Remove the water-soluble topping by tearing it off. If any remains, just wash it away with water.
Take the stabilizer off the back of the garment, cutting close to the edge of the design. Be careful not to rip a hole in your clothing by accident!
Even if you’ve used a significant amount of fabric adhesive to secure the garment, it might remain sticky. But the stickiness will fade over time or after the first wash, which is why you should only gently spritz.
Step 5. Trimming Jump Stitches
Use small embroidery scissors or snips to clip any lingering jump stitches in your pattern. Make sure you don’t accidentally cut through your clothing! Trimming the jump stitches before getting rid of the water-soluble coating is sometimes easier.
Step 6. Wash your embroidered garment
Any hoop marks or impressions left on your t-shirt from tight hooping, as well as any chalk marks, will fade away with the first wash.
Summary
Embroidering clothes can be simple and rewarding. You can do it either by hand or by a machine. Follow the basic things you need to know to embroider clothes as outlined above. Who knows, you might develop a passion for embroidery.


Jessica Oliver is a fashion enthusiast with more than ten years of experience in the industry. She previously managed her own clothing store in New York before becoming a mother of three. With a passion for sustainability and a desire to share clothing care and recycling tips.