Interrupted glides and stained clothes are just a few consequences of a neglected iron. If you’re a first-time owner or someone who keeps breaking one, learning how to clean an iron is one thing to understand.
Do I clean it once a month or twice a year? How do I clean from the inside out? Is there a way to remove stubborn gunk? Today, we will answer all your questions, from when to clean to alternative methods of cleaning residues.
If you’re ready to give your iron a restart, then keep on reading!
When To Clean Your Iron

When was the last time you gave your iron a good clean? If it’s already been half a year, your soleplate might be crying for help. Ideally, an iron needs cleaning once a month if you use it daily. If you iron occasionally – after four to six months will do.
Although, there are instances when you don’t want to wait longer than a couple of months. Take a look at some of these signs indicating that your iron needs cleaning:
- Presence of burnt spots or burnt-on grime
- Iron starts sticking over the garment and does not glide smoothly
- Stains on clothing appear after ironing
- Water from the steam appears dirty
If you encountered one from the list, expect a less efficient iron. Grimes can hinder you from flattening out even the lightest of wrinkles. It can damage your clothes and cause you more time and effort to finish. This is probably the last thing you want to experience after a long day of washing and drying.
Are you ready to take on some stubborn dirt? Because we are!
How to Deep Clean Iron

Deep cleaning your iron every so often can help you prevent ironing mishaps. For this process, we will clean the water reservoir, steam holes, and soleplates of a steam iron.
But before we start, here are the materials you need to prepare:
- White vinegar
- Distilled water
- Measuring cup
- Measuring spoons
- Cotton swabs
- Baking Soda
- Silicone spatula
- Small bowl
- Cleaning fabrics
- Towel
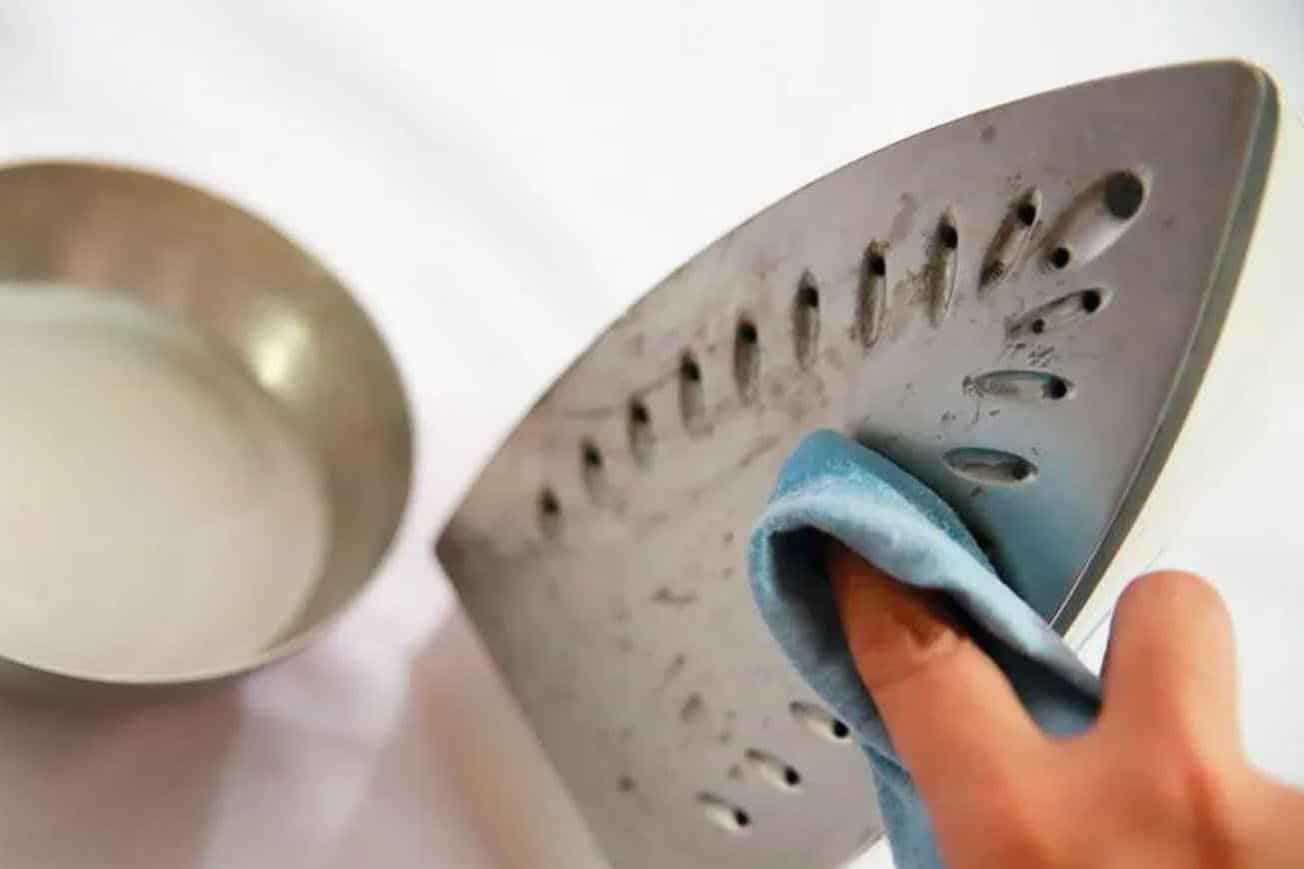
Step 1: Clean the Inside with Vinegar Mixture

Create a vinegar mixture by combining ¼ cup white vinegar and ¾ cup distilled water. But if you’re dealing with heavy sediment, you can use a 50-50 solution.
Grab your dirty iron (unplugged and cooled) and pour the mixture into the water reservoir. Once filled, plug the iron and wait until it heats up. Press and hold the steam button until steam comes out. Repeat this 3 to 6 times to ensure steam vents are clean.
If you’re worried about your iron smelling like vinegar, don’t fret! The last step will help flush the scent, leaving you a clean and fresh iron. We’re only moving on the steam holes to take advantage of the heat.
Step 2: Use Cotton Swabs To Remove Sediments

Cotton swabs are a great tool to remove any remaining mineral deposits in the steam holes. You can also use an old toothbrush or pipe cleaners if you prefer.
While still plugged in, use a cotton swab to scrape off the remaining sediments. Be careful not to burn your fingers from cleaning. Always place one hand on the handle while your dominant hand works on the steam holes.
Once cleaned, unplug the iron and let it rest. Empty out the mixture from the reservoir and set it aside. You can use the remaining mixture for the stubborn gunks on the soleplate.
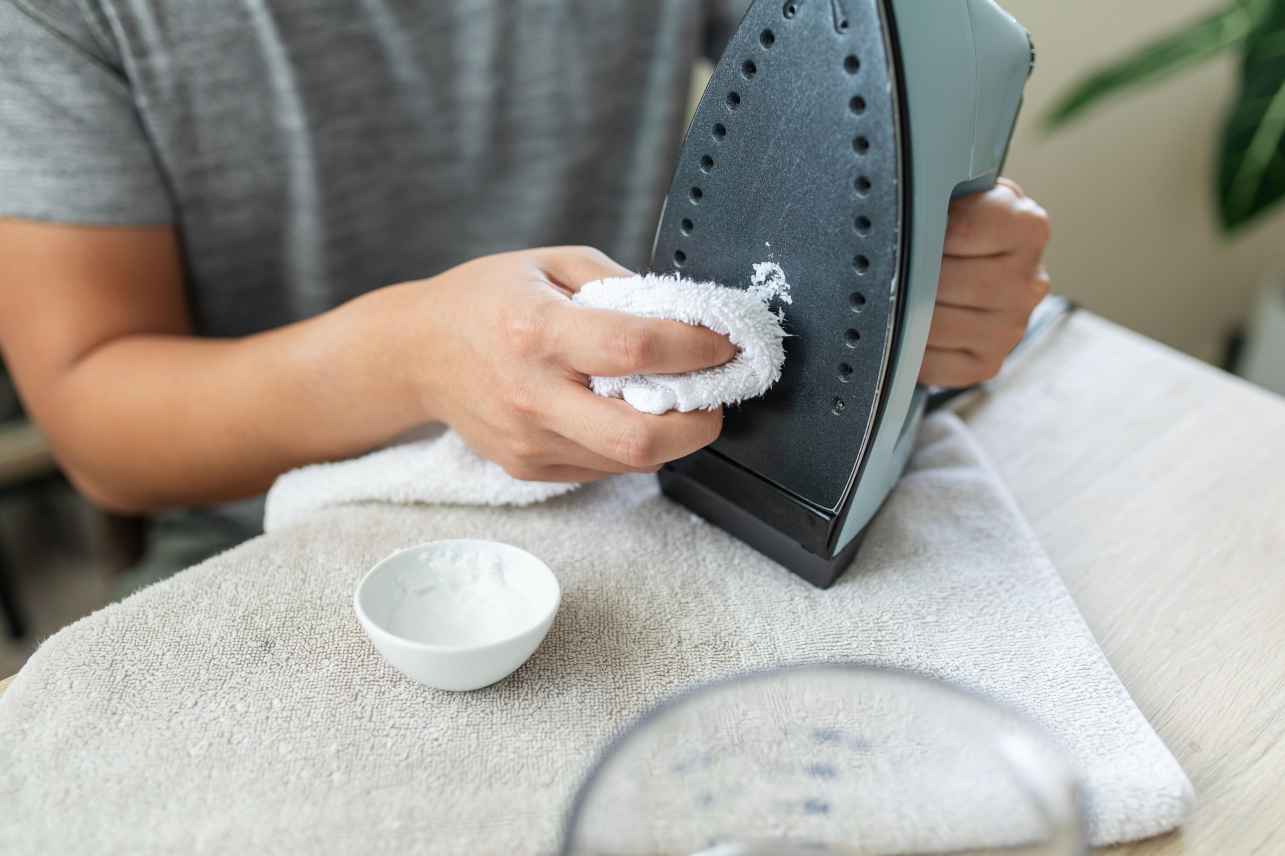
Step 3: Clean Soleplate With Baking Soda Paste
There are times when we regret not including cleaning in our life choices. And one of these instances is letting the gunk pile up on the soleplate. Either way, the iron needs cleaning or replacement (which should be the last resort).
For the third step, start first by creating a baking soda paste. Combine one tablespoon of water and two tablespoons of baking soda and mix until thick, similar to glue.
Using a silicone spatula, spread the baking soda paste on the iron plate. Grab a damp cleaning fabric and start rubbing in a circular motion. Now this might take some effort, but it sure removes the gunk.
In place of cleaning fabric, you can also use a no-scratch sponge with dish detergent or a non-abrasive cleaner. But if you’ve tried cleaning with baking soda, you know well how it works its magic.
Going back, wipe the excess paste with a damp cloth, leaving you a clean soleplate.
Step 4: Finishing the Deep Clean
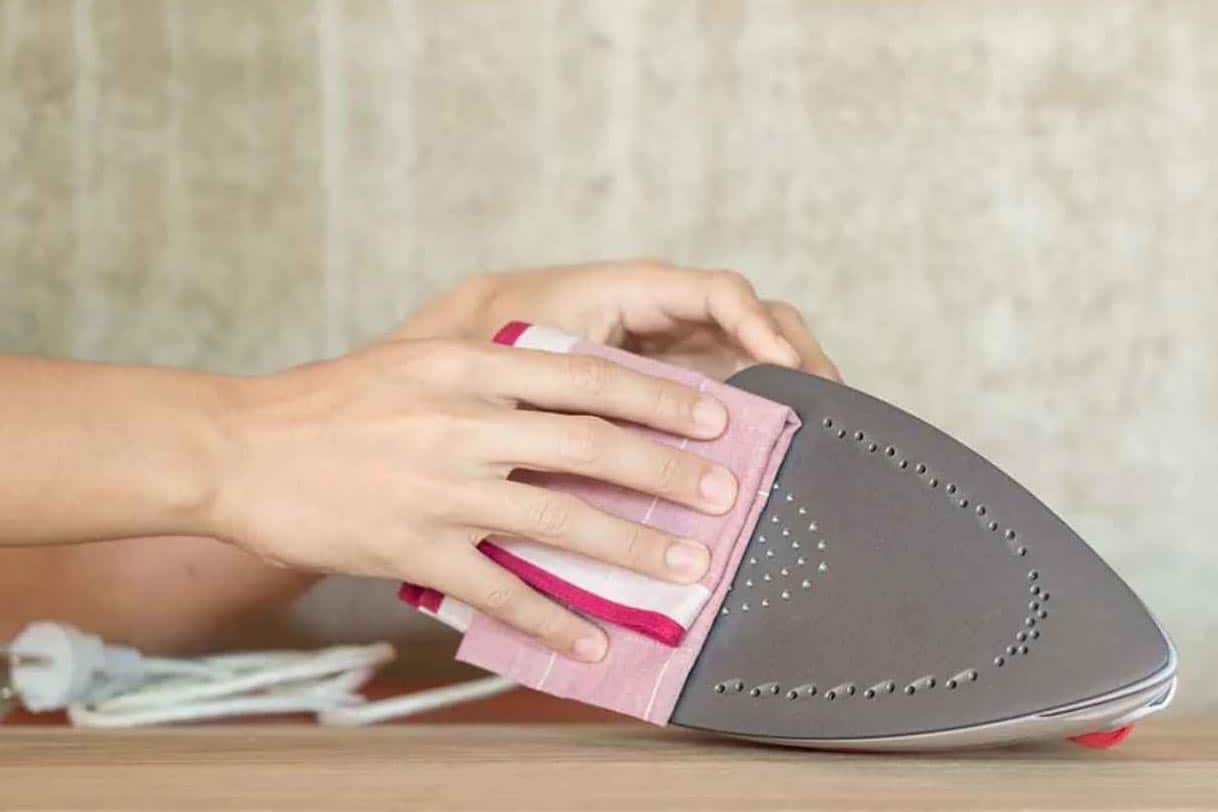
Let’s finish the deep cleaning by grabbing distilled water and a towel. Again, distilled water and not tap water! Why is it, though?
Distilled water contains fewer mineral deposits and rust spots that could accumulate on the steam holes. So if you want to prolong the life of your iron, always use distilled water.
With no ifs and buts, plug in the iron and pour the distilled water into the reservoir. Choose the steam setting, press the steam button, and run it over a thick towel. It will ensure that no paste remains inside the holes.
Are there still stubborn gunk on your soleplate? If there is, we’ve provided alternative ways to deal with it below.
Alternative Ways To Remove Stubborn Gunks on The Soleplate
Layers of gunk settling at the soleplate can give you a headache. Not only does it messes with your clothes, but also with your time. If the baking soda paste did not clear the sediments in your iron, here are four alternative ways you can try.
Ice and Scrape Your Soleplate
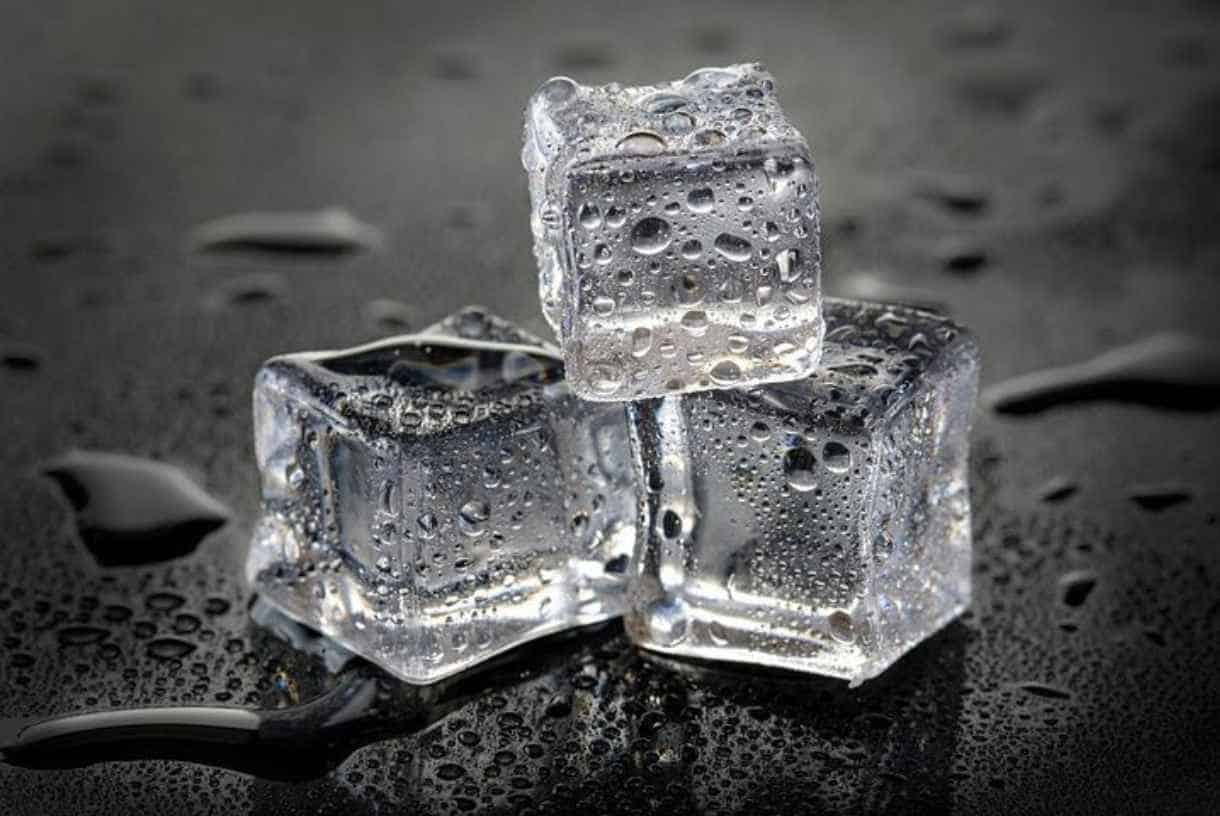
Have you tried using ice to prevent stains from setting on your clothes? It turns out this icing technique also works out on stubborn residues.
To start, you will need the following:
- A glass baking dish
- Ice cubes
- Plastic scraper
Choose a glass baking dish that would fit the iron. Once you got one, fill it with ice cubes and set aside.
Plug in the iron and heat until the residue is somewhat pliant. After, unplug the iron and place it on the ice for 10 minutes. Remember that the cord should be out of the way so no wirings get damaged.
Remove the iron from the ice, and gently scrap the residue using a plastic scraper. Never use a sharp metal blade, as scratching leads to rust. Finish up by wiping the iron with a dry towel.
Now you’re ready to use it on your next ironing session.
Remove Gunks Using a Dryer Sheet
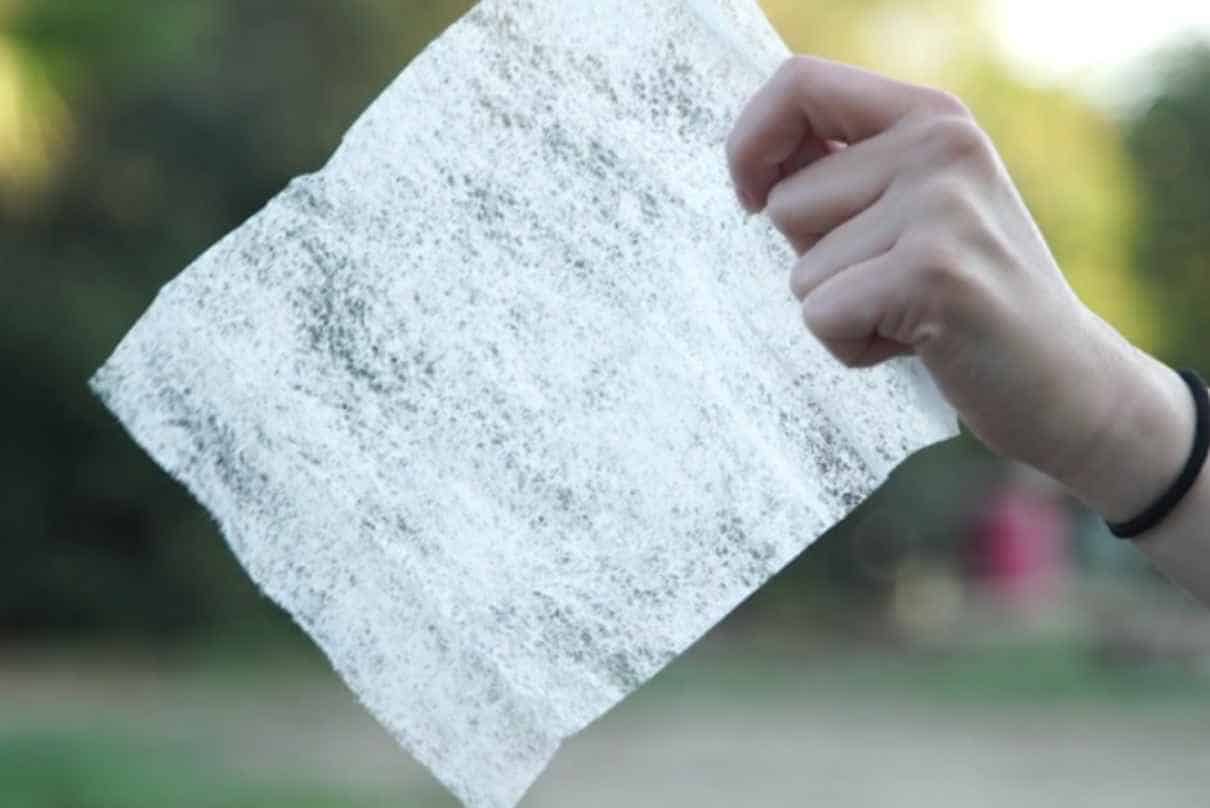
Don’t have time to wait for the ice to soften the gunks? Try the dryer sheet hack for seamless and smooth ironing. For this method, you only need dryer sheets. No more, no less!
First, set the iron on its lowest heat setting with no steam. Wait for a few minutes for the soleplates to get warm.
Once warmed, grab a dryer sheet and crumple it to create volume. That way, you’re fingers have protection from the heat. Slowly scrub the gunk in a circular motion until it peels off. If the dryer sheet gets hot, crumple a new one and wipe it again.
Use Magic Eraser
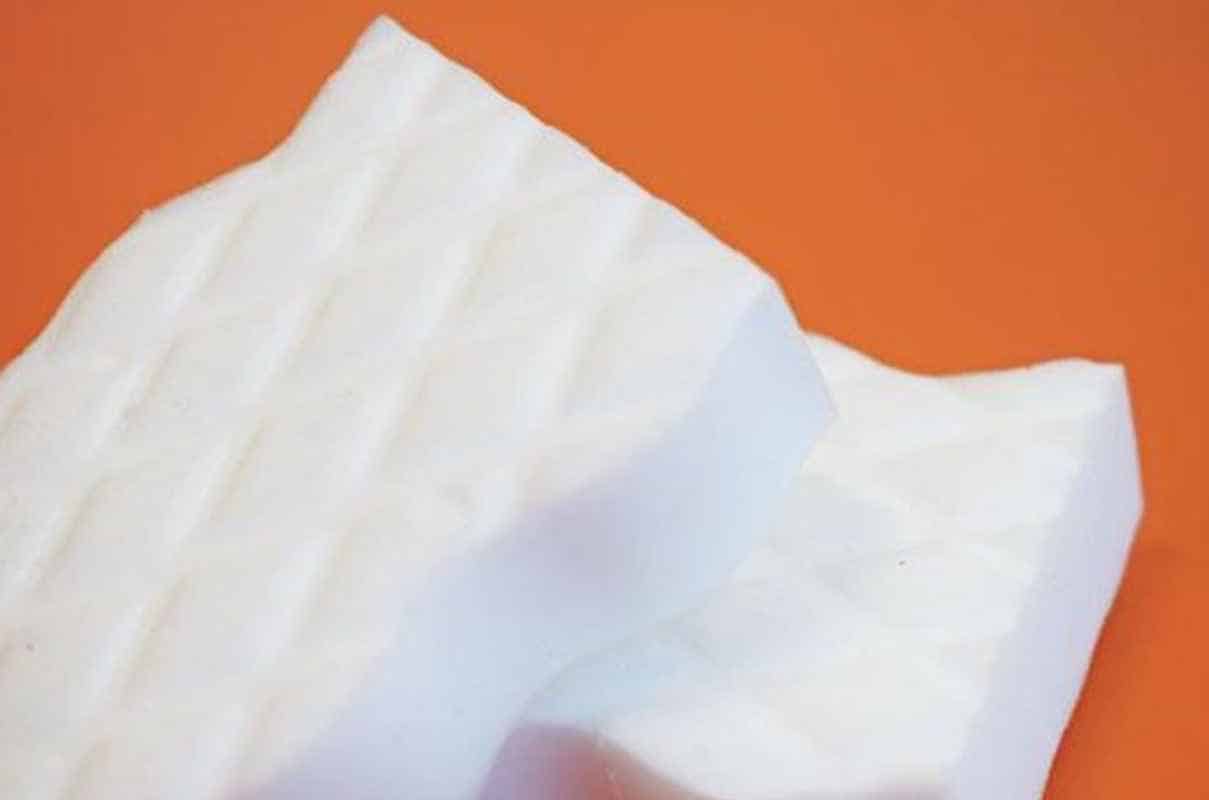
There’s no spellbinding cast or sorcery involved in this technique, only a magnificent tool. Magic eraser cleans any appliances and helps remove stains effortlessly. It’s like a sand eraser for a pen, only softer and more flexible.
Another good thing about this is that you don’t need any kind of cleaning agent. The eraser alone is enough to remove the dirt, which saves you a couple of bucks.
You can find this in any home improvement store and even grocery stores. If you got one already, here’s how to use it:
Wet the magic eraser in a bowl of water. Once it’s wet, rub the cool soleplate until the grime comes off. Dip it in the water again when necessary.
Power-Up Vinegar with Salt
Aside from baking soda, vinegar is another natural cleaner that has many uses in the house. Vinegar has a high acidity that can help dissolve minerals, grime, and dirt left off on the iron plate.
While it can fight icky buildup alone, pairing it with salt can make it even more powerful. For this technique, mix a 2:1 ratio of vinegar and salt. Heat the mixture in a pot until all the salts dissolve. Set it aside and let it cool for a few minutes.
Once it sets, grab a cloth or an old toothbrush to apply the solution. The more soft the material is, the better, so you don’t scratch the plate.
Scrub the gunk and burn marks until no residue is left. Once satisfied with the result, wipe the soleplate with a damp cloth. Voila! You now have a powerful natural cleaning agent and a clean iron.
Take Away
Are you now familiar with how to clean an iron? How about setting a timeline on when to clean it? Washing and drying clothes is already tiresome, especially if you’re busy. Then add the inefficient iron that needs dire cleaning.
If you don’t want your tools getting in your way, best to learn how to maintain and take care of them. Allocating a cleaning day once a month or twice a year can already save you from trouble. So go ahead and pick up your iron, and give it the best scrub!


Jessica Oliver is a fashion enthusiast with more than ten years of experience in the industry. She previously managed her own clothing store in New York before becoming a mother of three. With a passion for sustainability and a desire to share clothing care and recycling tips.