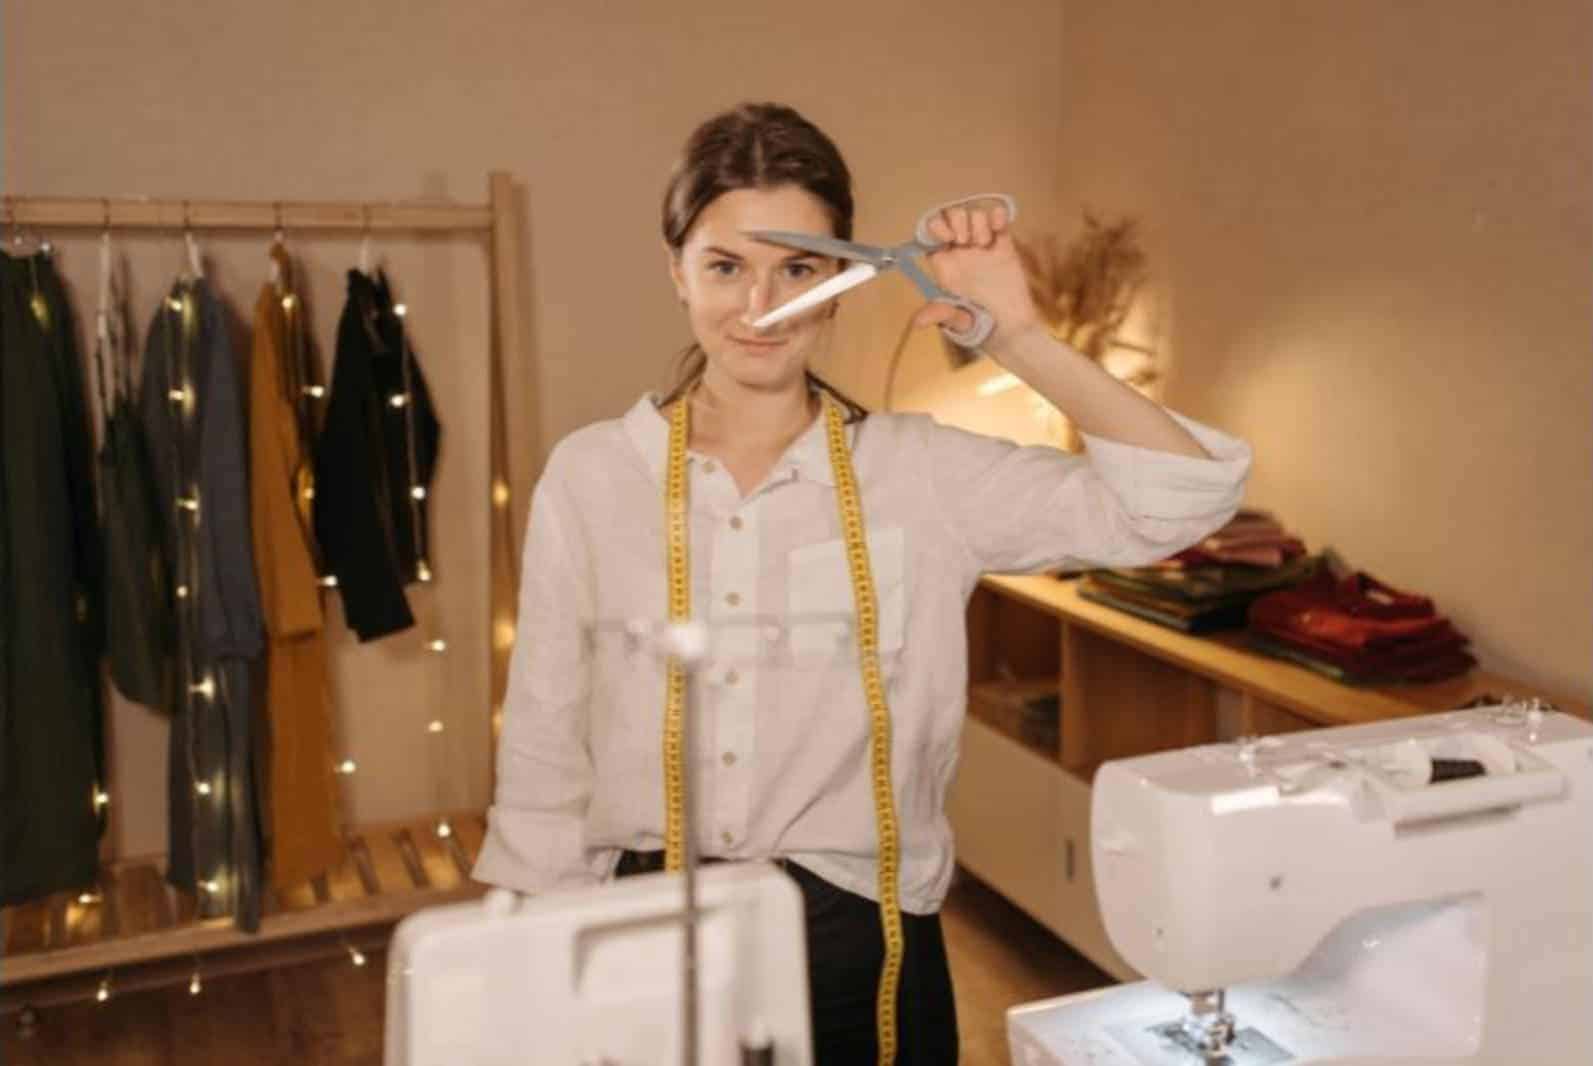
Sometimes, you need to make quick fixes to your clothes or make new ones, and you don’t want to go to the tailor, or you don’t have enough money at hand.
All hope isn’t lost. With a few easy steps, some patience, and sewing tools, you can learn to tailor your clothes. Want to learn more? Keep reading.
Sewing Essentials: 7 Things You Need To Start Tailoring Your Clothes
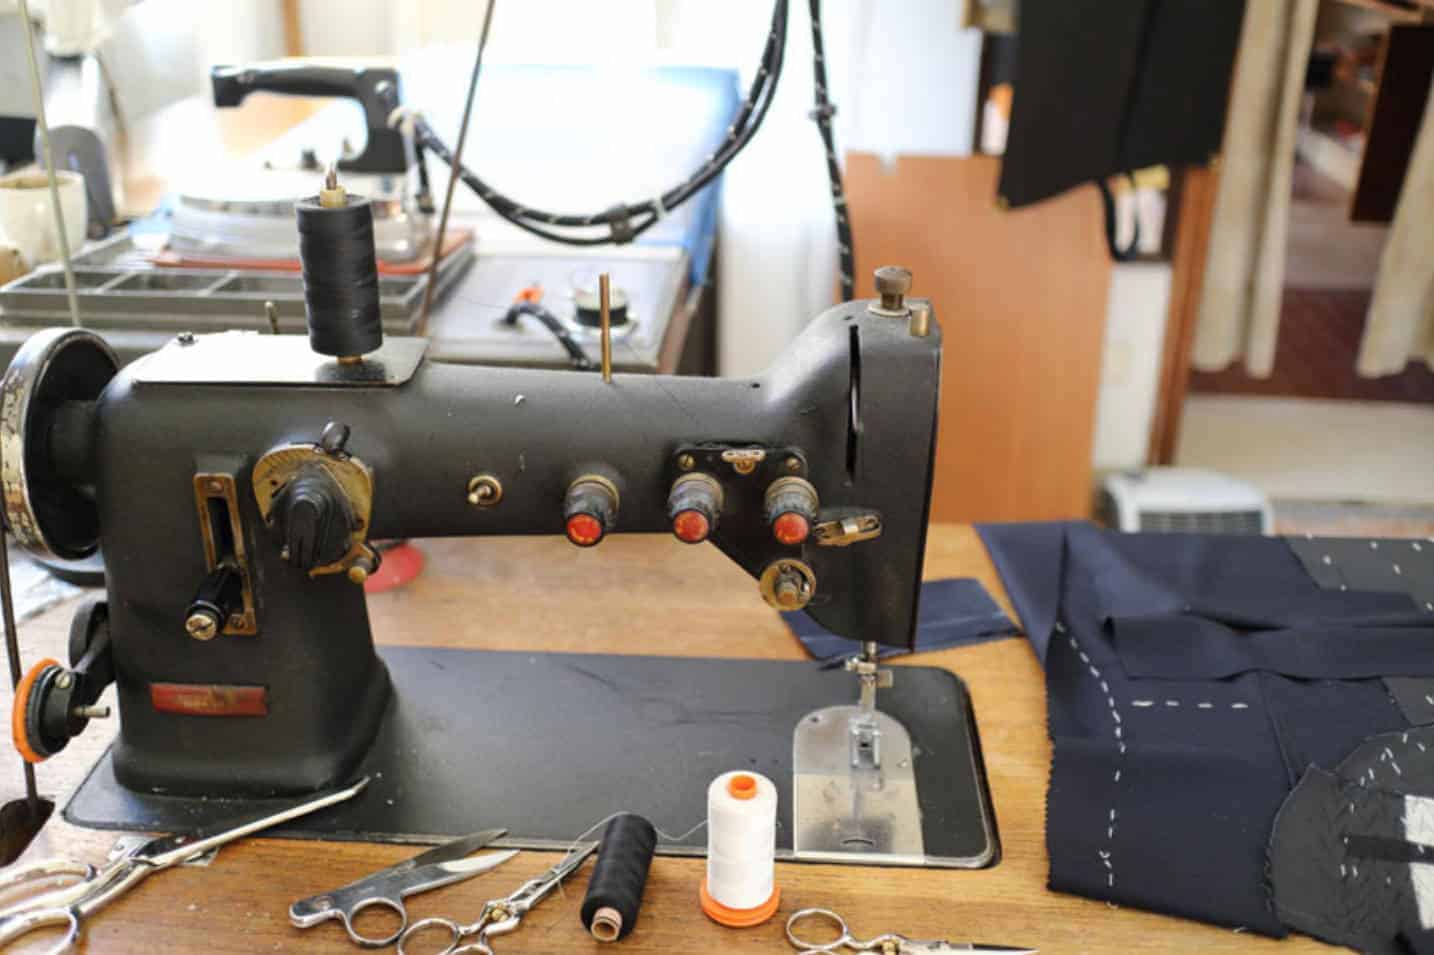
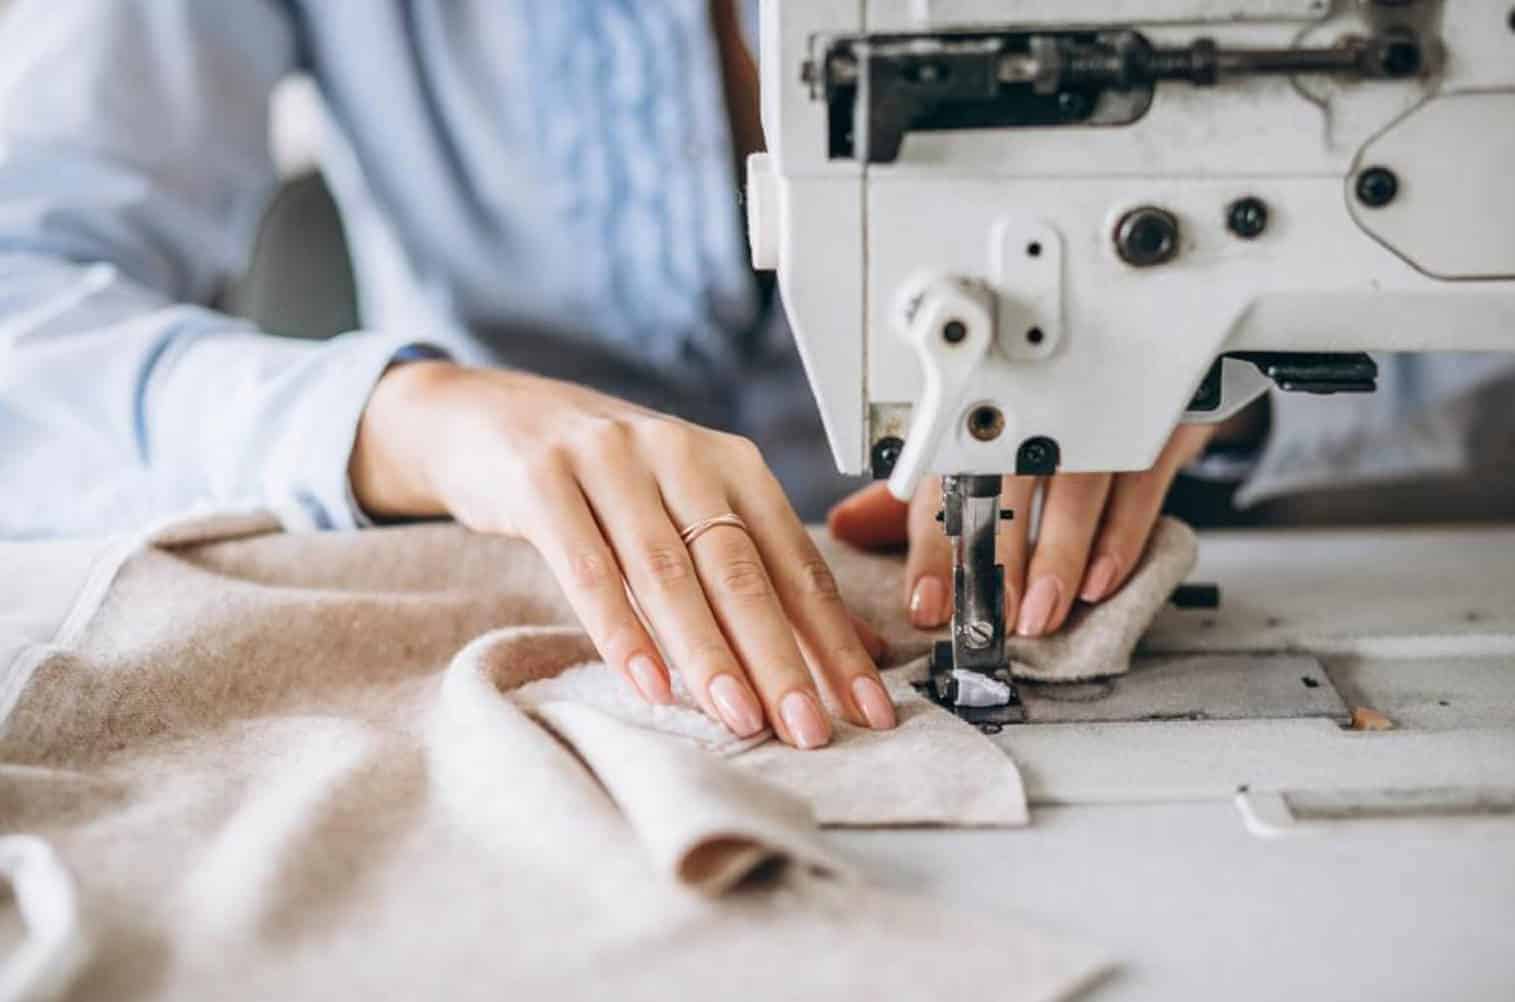
Sewing machine
You really cannot start tailoring your clothes yourself without a good sewing machine. It might be an expensive tool, but it is a sewing essential.
Needles
Needles are as crucial as your sewing machine, either hand or machine needles. If you’re learning how to use a sewing machine, you will make mistakes such as sewing too fast, sewing on pins, sewing many layers at a time, etc.
Some of these mistakes cause your machine needle to break, so you must have as many machine needles as possible. Also, hand needles come in handy for making minor hemming stitches, fixing a button, or closing up a slight tear.
Pins
Ensure you have enough pins when sewing, particularly if you are a beginner. Pins save you from costly sewing mistakes such as cutting off excess material.
If you’re not sure how much material to cut off when making adjustments to a fabric, after measuring, use a set of pins to hold off the excess material; try on the fabric to see if it fits, and then you can cut.
Chalk
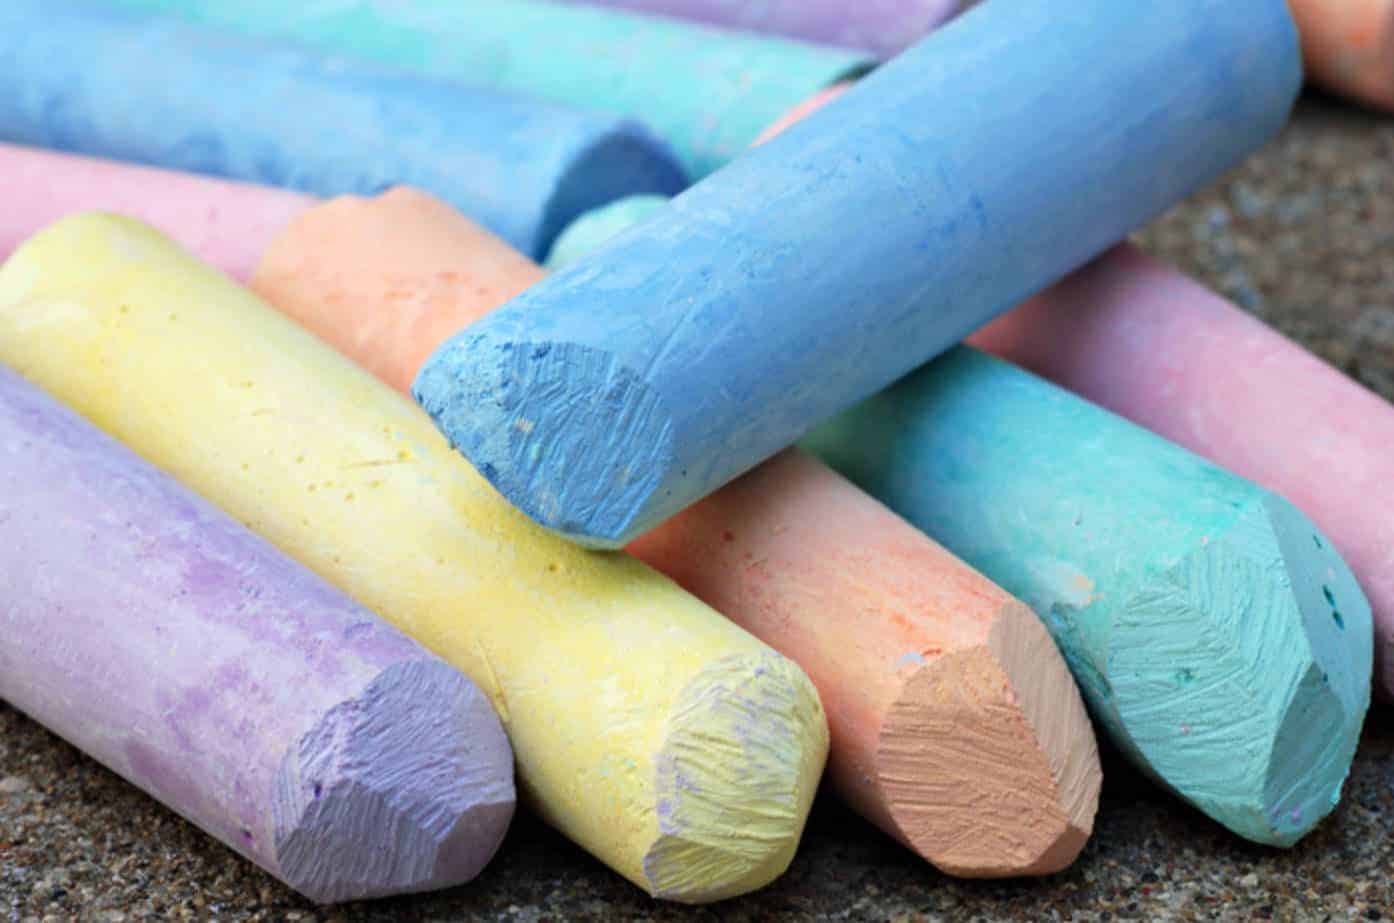
Tailoring chalk helps you mark off the places you want to cut off or join together. It enables you to create a pattern to follow after measuring, saves you from making mistakes, and allows you to follow through with measurements.
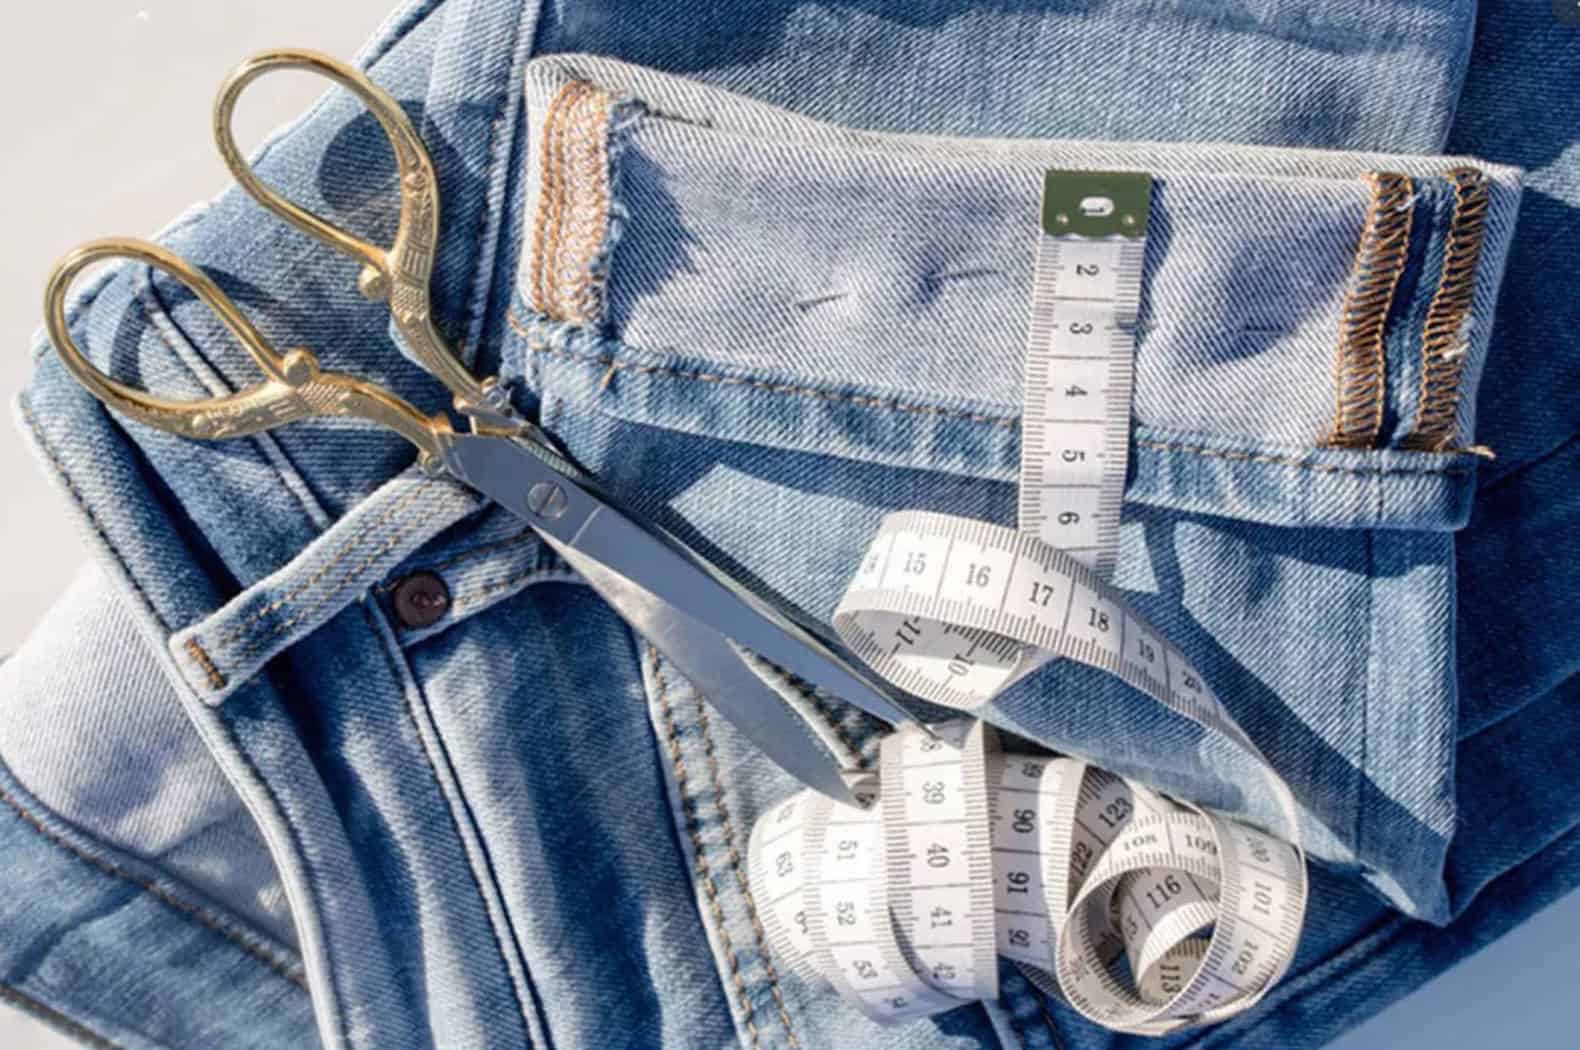
Scissors
What is sewing without a good pair of scissors? You need a good pair of scissors to cut off excess fabric as you sew or make amendments to your clothes. Make sure that your scissors are used strictly for cutting clothes and not anything else.
Measuring tape
To make amendments to or sew your clothes from scratch, you’ll need to take your measurements using a measuring tape. It’s best to make changes according to your size, and you can only do this using a measuring tape.
Seam ripper
As someone new to sewing, you’re bound to make mistakes with your seams. Your seam ripper helps to remove incorrect seams, cut open buttonholes, and loosen stitches. It is vital to have this tool in your sewing kit.
Need To Tailor Already Sewn Clothes? Follow These Steps
Sometimes, you might need to make some alterations to your already sewn clothes. Below are the possible alterations and how to go about them:
Step By Step Guide On How To Replace Zippers:
- Remove the metallic or plastic bottom stop from the zipper using pliers.
- Use the zipper pull to remove the slider from the zipper teeth to just below the last teeth.
- Align the zipper teeth properly to ensure they interlock.
- Use the zipper pull to move the slider up to the top.
- Thread your sewing needle with a heavy thread and tie a knot at the end.
- Insert the needle, pull the thread through the zipper, and make about seven stitches where you removed the old stop to make a new one.
- Sew the stop just above the damaged area on the zipper.
- To finish up, push the needle into the other side of the zipper and tie a knot to secure it. Then snip off the excess thread.
Taking In Clothes At The Sides:
- Get your measurements: bust/chest hips and waist.
- Gather your tools: scissors, measuring tape, pins, chalk, and your seam ripper.
- Measure the dress/shirt/blouse
- Calculate how much to take in by subtracting your body measurements from the measurements of the clothes. Divide the number you get by two. This will be the amount you’ll take in on each side of the fabric.
- Use chalk and pins to mark the new seam lines.
- Use your sewing machine to sew along pinned lines to create a new seam on both sides.
- For shirts with big sleeves, continue sewing from the body to sleeves down to the wrists.
- Cut your seam allowance and make your work neat by trimming excess threads.
Mending A Torn Seam
- Get a hand needle and thread the same color of the material.
- Thread the needle making sure the thread is smooth with a blunt end.
- Choose the kind of stitch you want to use to mend the torn seam. Running stitches are the easiest for beginners. You can use Backstitch too.
- Repair your broken seam. Try to keep your stitches tight and as even as possible to prevent them from reopening quickly. Smoothen out the fabric as you sew to avoid wrinkles.
- Finish your seam with a firm knot once you reach the edge of the torn seam.
- Turn the fabric and gently pull the mended area apart to ensure it was properly sewn.
Tailoring Your Clothes: Gowns/Blouse/Tops
Below is a step-by-step guide on sewing your gowns/blouse/tops. Watch this video to learn more about sewing gowns/tops:
- Get your measurements: your bust/chest, waist, hips, and sleeves.
- Following your measurements, prepare your patterns for the front, back, neck, armholes, sleeves, and length using brown paper.
- Place your patterns on the fabric, and following it, cut your fabric.
- Cut out facings where necessary, including the armholes for sleeveless gowns and the neck. You may decide to cut facings for the front and back of your garment separately or together.
- For gowns, mark your darts on your fabric and sew from that point downwards. You may decide to have darts in front and at the back of your dress, depending on your style.
- Attach the zipper at this point before you start with your facings.
- Sew your shoulder seams. Once you have the front and back of your dress ready, you need to join them at the shoulders.
- If you’re working with a V-neckline or with materials such as linen, it is best to stitch the neckline before sewing the shoulder seams.
- Join the back and front neck facings at the shoulder seams.
- Pin the neckline facing the dress’ neckline, and then sew them together following the pins.
- Because the neckline seam is a curved one, you’ll need to make tiny cuts at the edges around the seam allowance. Make sure to end the snips at the stitch line, but not on it.
- Stitch the neck facing, making sure that the facing and seam allowance are not facing the body of the dress.
- Understitch the neck facing by sewing a row of stitches near the seam. This helps the roll inside the garment when turning.
- Turn the neck facing inside the fabric and press the edges to the fabric around the neckline.
- Sew the side seams, leaving enough seam allowance.
- For sleeveless dresses, blouses, and tops, prepare the armhole facings and sew them into the fabric.
- Stitch the front and back facings together upward, aligning them at the shoulder seams.
- Using the same turning process, turn the facings into the fabric and make small cuts at the seams.
- Understitch the facings around the armhole.
- Hem the edges of your dress/top/gown using your machine or hands.
- Finish up your sewing by trimming excess threads.
Tailoring Your Clothes: Pants
Below is a step-by-step guide on how to sew pants. Watch this video to learn more about sewing trousers: https://youtu.be/gk5plILmD3w
- Start by getting your measurements: waist, hips, thighs, ankle, groin, and pant length.
- Following your measurements, prepare a pattern for the front, back, pockets, etc.
- Place your pattern on your fabric and cut accordingly.
- Pin your cut-out pattern to the fabric.
- Make marks for your dart, band, and elastic on the underside of the fabric.
- Use pins to attach the cut-out pockets and pant legs. Pin them to the edges of the pant legs and using top stitches, follow the pins and sew them together.
- It is easier to attach the pockets before sewing the pant legs and waistband.
- Sew each pant leg along the outer edge, following the pins. Don’t forget to remove the pins as you sew.
- As you sew, unfold each pant leg and make top stitches before sewing the next leg.
- Make straight stitches along the inner seam just as you did with the outer seam of each leg.
- Insert the pant legs into each other, with one of them turned right side up and the other turned inside out.
- Sew along the crotch area. Make stitches from the back to the crotch areas and straight to the front.
- If you’re adding a zipper to the front of the trousers, make sure to leave enough seam allowance.
- If you’re using elastic to hold the waistband, sew to the top of the band in front.
- Fix the zipper in the opening on your left and sew it in. If you’re using elastic, insert the elastic into the waistband and press it down.
- Hem and trim the edges of the pant legs to your desired length. If you’re making the pants for yourself, wear them at this point to check the length.
- Fold any excess fabric in and sew along the folded edges. If need be, you may trim away the excess material.
- Make sure that the uneven edges of the pant legs are properly tucked up before sewing along the edges.
- Finish up by trimming threads to make your work neat.
- Iron the material, focusing on the seam lines to smooth them out.
- Note: if it’s your first time, avoid making pants with pockets, as this may complicate the tailoring process for you.
Summary
So far, you have seen that you can save yourself a lot of time and money if you learn how to tailor your clothes. Although it might seem a daunting task, it is not impossible.
With precision and practice, you can use this inexpensive skill to make last-minute adjustments to your clothes or sew some fashionable pieces for yourself.

Jessica Oliver is a fashion enthusiast with more than ten years of experience in the industry. She previously managed her own clothing store in New York before becoming a mother of three. With a passion for sustainability and a desire to share clothing care and recycling tips.