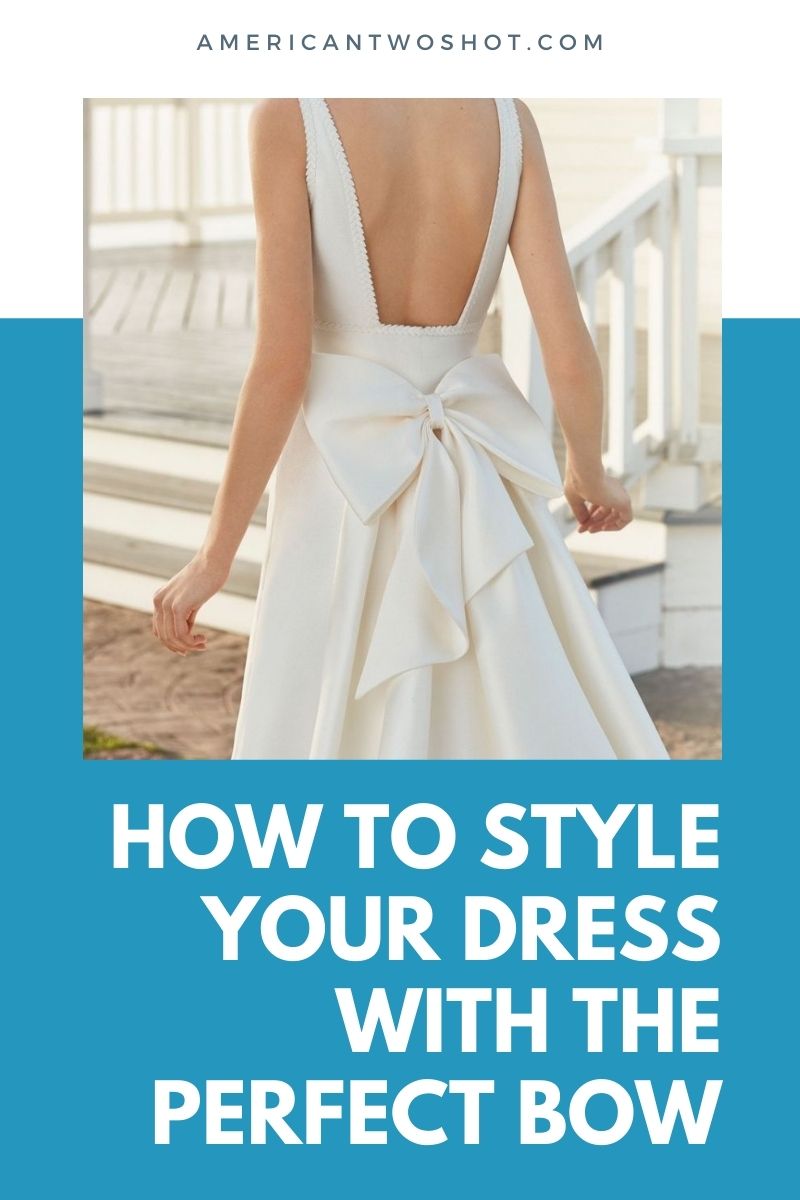
Adding a bow brings sophistication to a plain-looking dress. Also, a perfect bow can level up your look in an instant. Whether for a wedding or a party, you must know how to tie a bow on a dress. By following the steps below, your attire will look more elegant.
Step 1: Choose the right sash for your dress
Before tying the bow on your dress, make sure you have the right one. An inappropriate sash will make your dress look sloppy and awkward. It must fit the dress and the event you are going to attend. You can purchase an already made bow, or you can also create your sash.
Bridal Sash
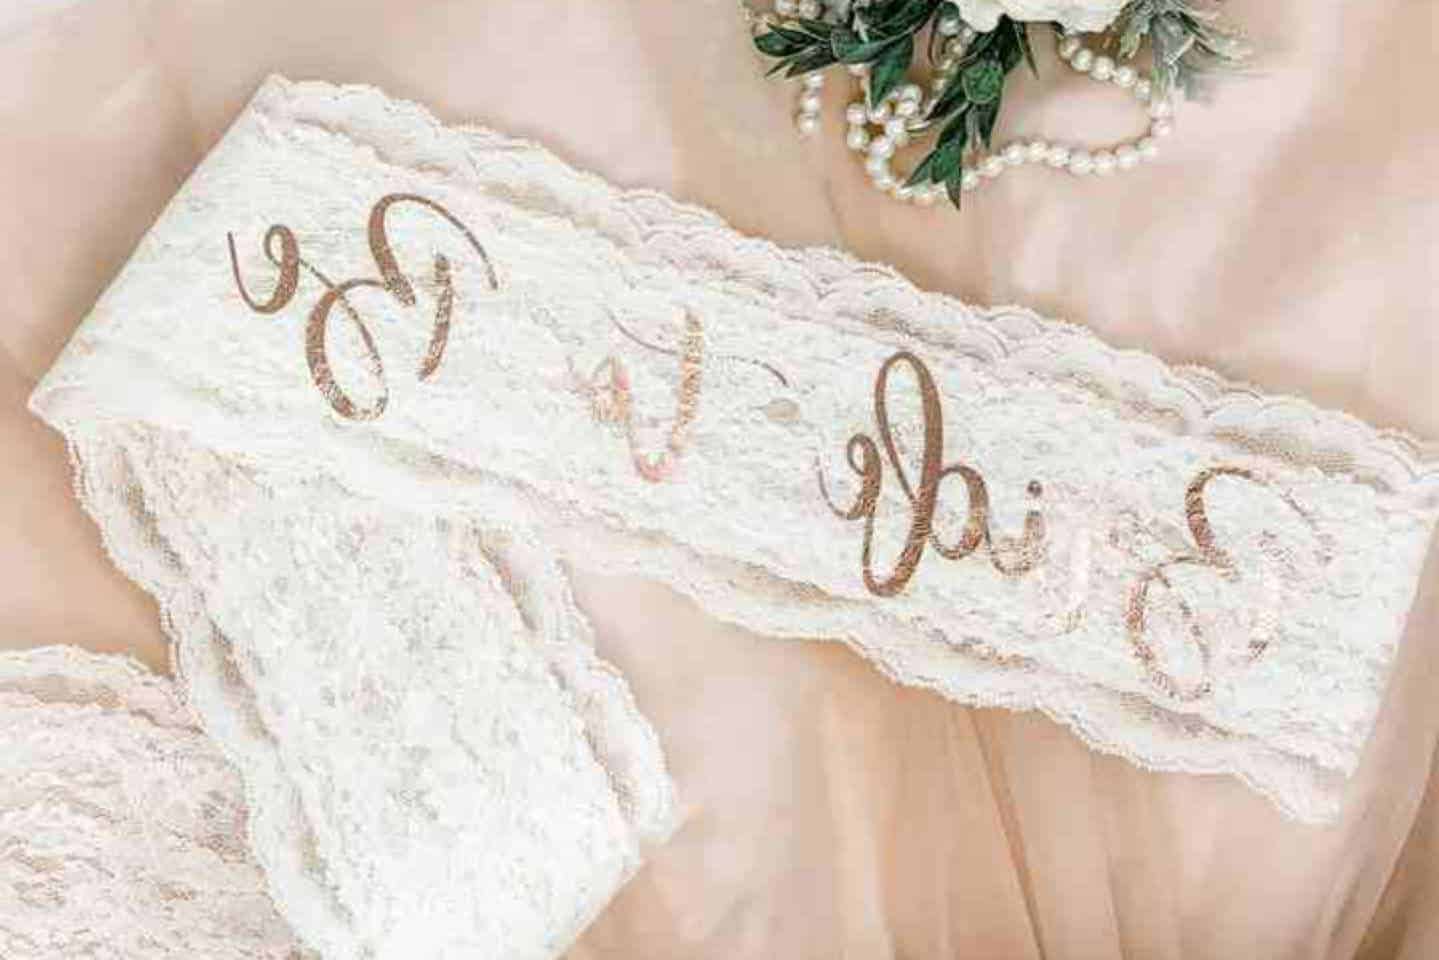
If you are looking for ways to style up your wedding gown, adding a bridal sash will help. It is an accessory used by brides to add elegance to their gowns.
Aside from that, it emphasizes the waistline by placing it in the narrowest part of the body. Satin and silk are the fabrics chosen by most brides. But there are other options like Silk charmeuse, Duchess satin, and Tulle.
The color of the sash should complement the color of your gown. You can use rose gold, ivory, and white. If you have a thick waist, it is better to choose a plain sash.
But if you have a tiny waist, you can add decorations to your sash like rhinestones, beads, and sequins. Adding Swarovski crystals is also a good idea.
Ribbon Sash
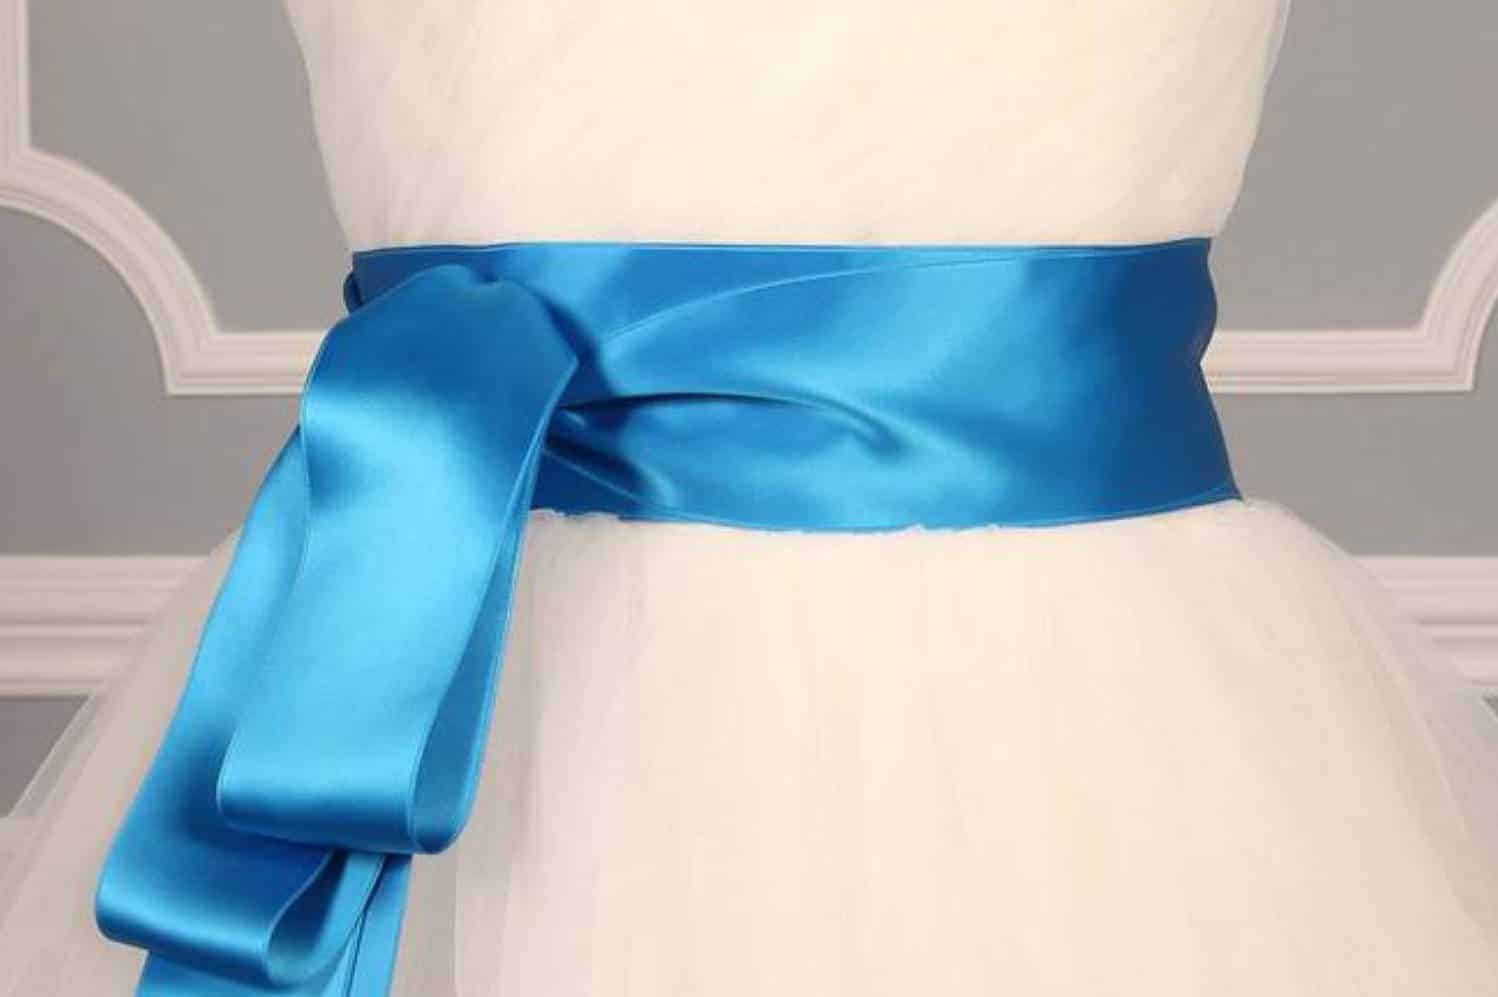
Ribbon sashes are the satin sashes that young girls wear to add cuteness to their dresses. Flowergirls often wear ribbon sash for weddings.
The best drape to use is thick and malleable ribbons. Most cheap ribbons have tiny fibers sticking out. It can be tied in front or at the back of the dress.
Ribbon sashes are placed from the shoulder to the other hip in a ceremonial event. This kind of ribbon sash is also known as a ceremonial sash. You can see it on pageants and other formal events.
Fabric Sash
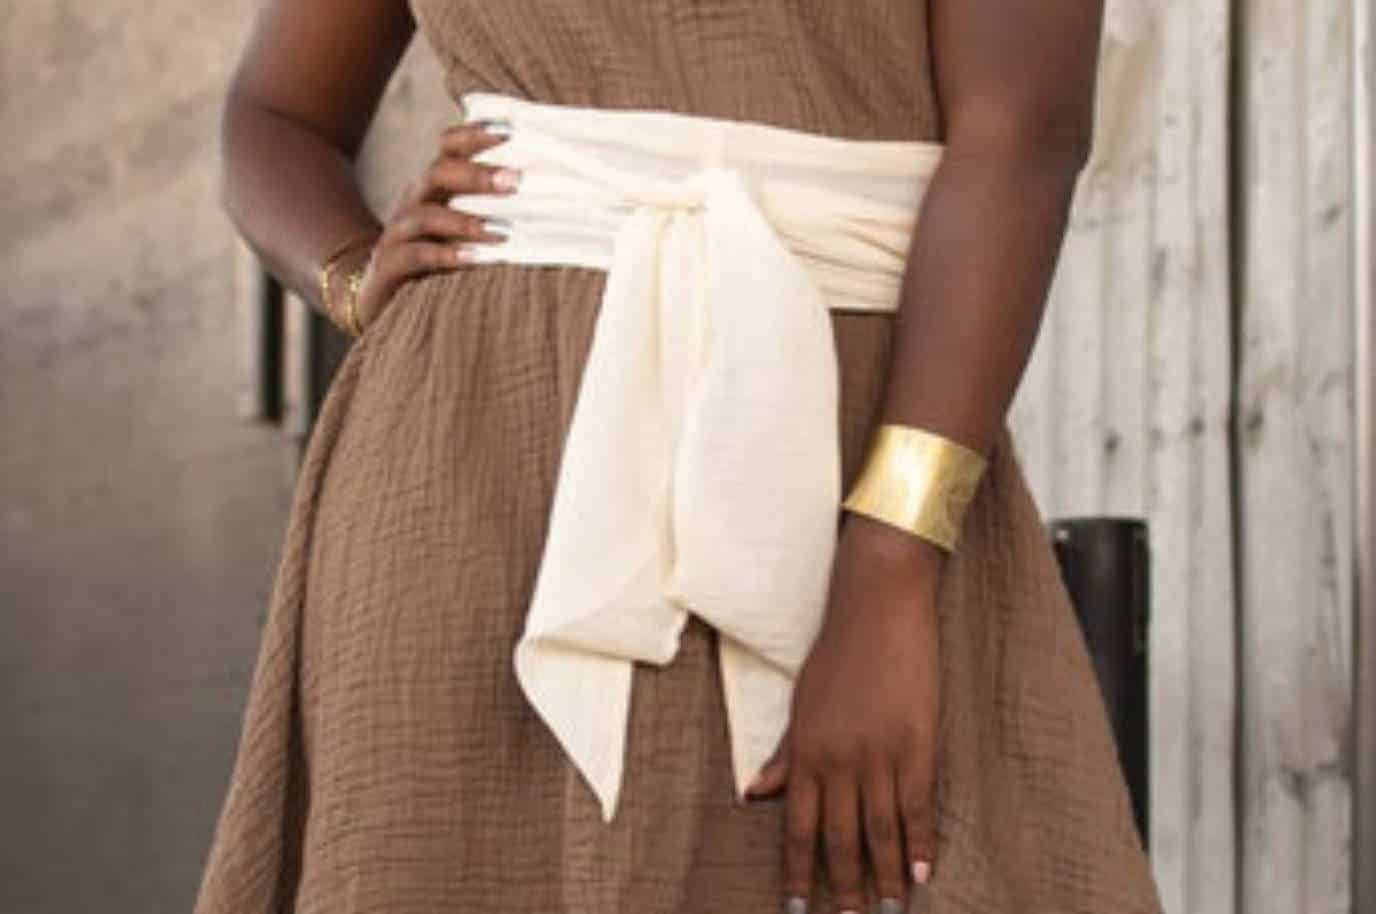
A fabric sash is an accessory that fits a man and a woman. It is usually colorful, and it can fit any dress. You can make your fitted fabric sash or a bow tying sash. The standard fabric used for this sash is chiffon. However, you can also use other materials if you want to.
Step 2: Prepare the materials you need
After determining the bow that will fit your dress, prepare the materials you need. Some materials are optional, especially if you don’t need to adjust your bow.
Sash
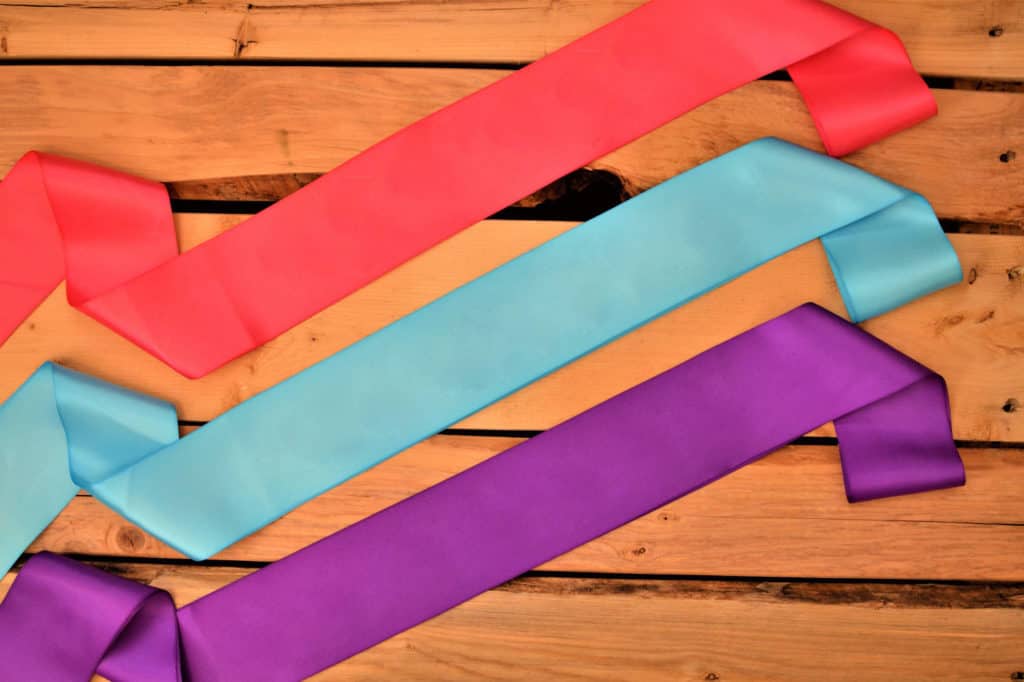
You have to prepare the sash or bow to tie to your dress. If you have a thick waist, you should choose a plain sash. A sash that has embellishments on it will make your waist look thicker.
Women who have tiny waists, on the other hand, should tie a bow that has decorations on them. Doing this technique will make their waists look sexier.
Aside from the decorations, you must also choose a sash that will complement the color of your dress. But don’t limit your creativity. There are contrasting colors that perfectly blend. With these combinations, you can make the outfit fun and unique.
Scissors
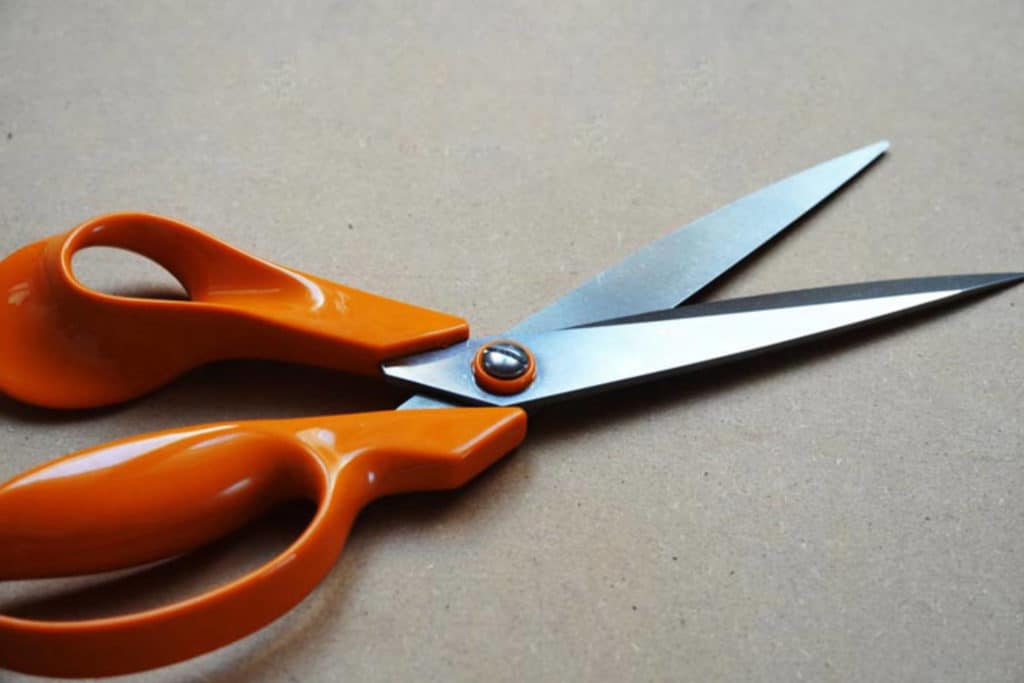
A pair of scissors is handy, especially if you need to make some adjustments. You can cut the bow if it is too long. Ensure that the scissors can cut fabrics and are small enough to carry them if you are going to events.
Needle and thread
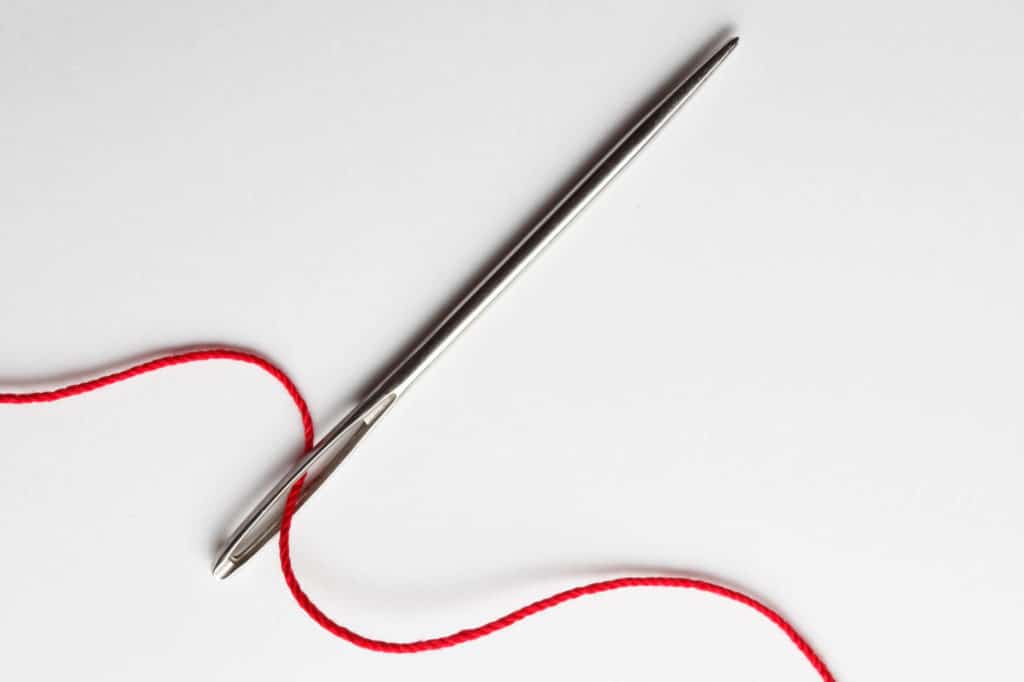
Young girls tend to move or remove the bow in their dresses. Prepare a needle and a thread if you want the bow to remain intact. Once you are done tying the bow, you can sew it on the gown or dress easily removed. As a reminder, use a thread with the same color as the bow.
Step 3: Determine where you will tie the bow
There are different ways you can tie the bow on your dress. You can either put it on your shoulder, in front of your clothing, at the side or the back. It would depend on how you want it to look.
On your shoulders
If you are wearing a one-shoulder gown, you can tie the bow on the shoulder. Styling it up this way will give you a modern look. Aside from that, the bow will add sexiness to your shoulders.
This look is perfect if you are attending weddings or formal dinners. Tie a medium-size bow to expose some of your skin as much as possible.
At the side of the dress
A side bow dress will indeed work for your little girl, especially if she is going to a birthday party or communion. This kind of style is always classy.
It adds life to a plain-looking dress, giving a bubbly vibe. You can also tie a bow on the side of your dress if you want it to look fun and lively.
In front of the dress
Tying a bow in front of your dress is one of the easiest ways to make a statement. If you have a plain-looking dress, tie a bow in front of it, and it will have a different look!
You can also add some decorations to the bow if you want to put some details to it. Make sure, though, that the color of the dress compliments the color of the gown.
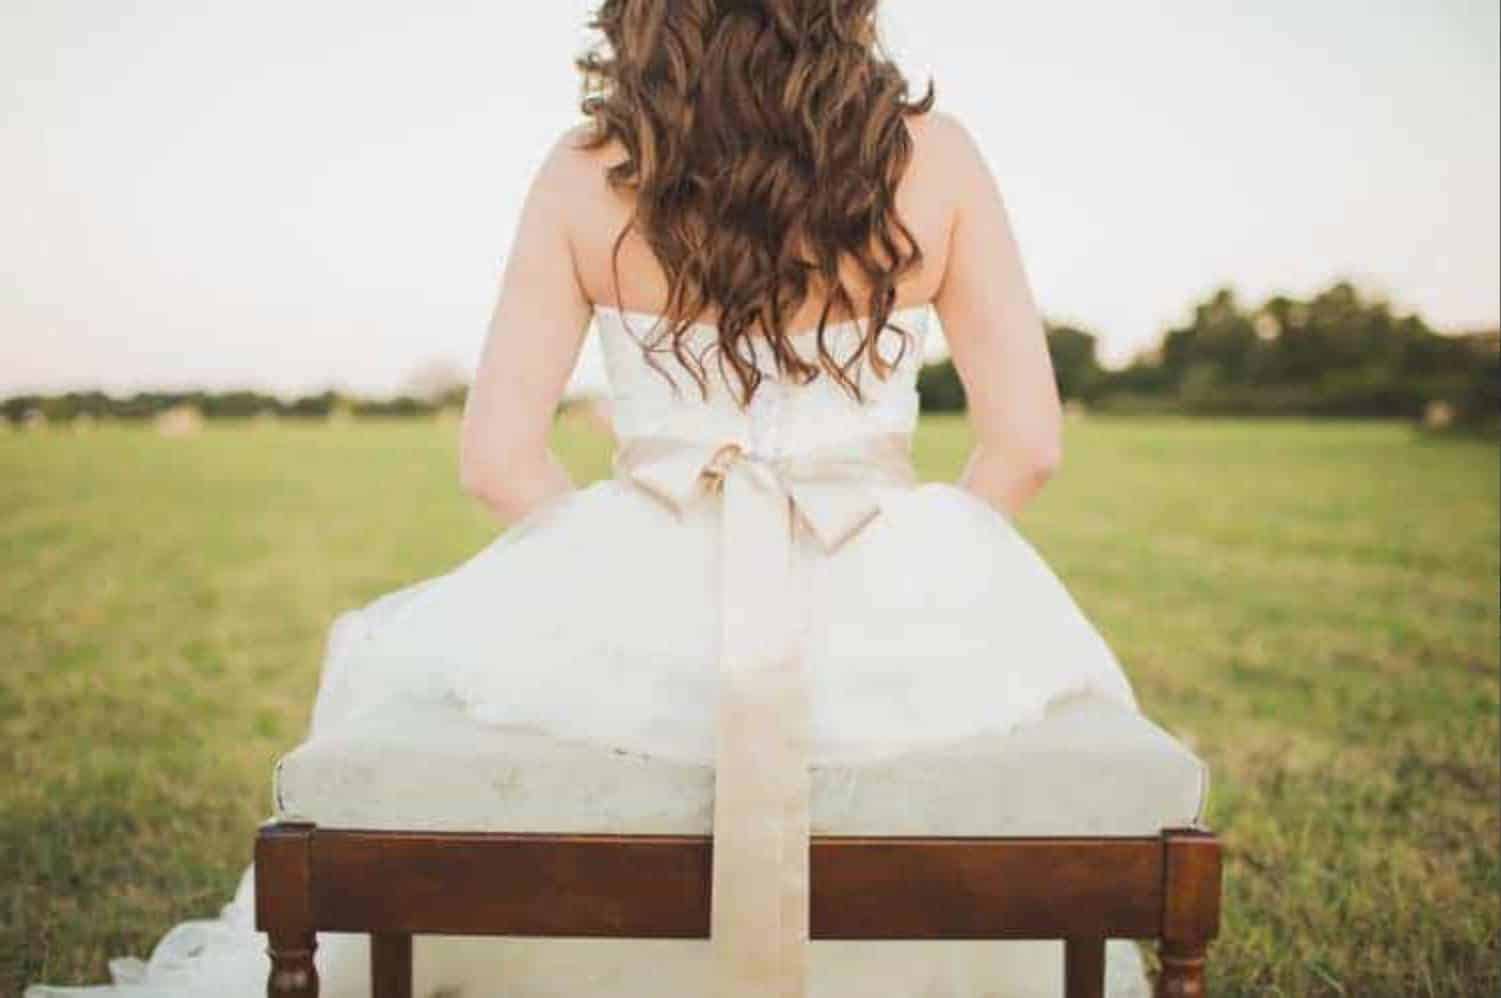
At the back of the dress
If you only want to emphasize your curves or make your waist slimmer, then tie the bow at the back of your dress. If you’re going to make the bow noticeable, you can choose a large bow. It will make your dress look sophisticated yet vibrant.
Step 4: Tie the bow on the dress
Once you have the right bow and know where you put it, you can now tie the bow on the dress. To do this, wrap the sash to the part where you want to tie it.
Ensure that both sides are even. Once done, cross the right and the left sash. The left sash must be at the top of the right sash.
Make a knot by pulling the left sash under and through the right sash. You can place the left sash on the shoulder before proceeding to the next step.
Make a bow by making a loop out of the right sash pointing on the right side. Next, pull the left sash over the right sash to create the centerpiece.
To complete the bow, insert the left sash through the opening made by both sashes. Pull the left sash through to create a loop. Tighten both of the loops by pulling them.
Make sure that the centerpiece and the tails are in the proper position. You can adjust the loops if you want the bow to look small or big. If you want a demonstration, you can click on this video.
Frequently Asked Questions
What should be the size of the remaining bow?
The remaining bow should be at least twice the width of the complete bow. You can make the sashes longer or shorter, depending on the look you want to achieve.
How will I tie a bow in a modern way?
Instead of making the sashes even, make the right sash longer than the left sash. Cross the right sash at the top of the left sash, then pull it under and through the left sash.
Create a loop using the right sash. Once done, get the left sash and wrap it under and over the loop you made. Pull it tight and fluff the top loop.
What will I do if the loops are uneven?
If the loops are uneven, you can adjust one at a time. If you want to make them longer, pull them up gently. But if you’re going to make them shorter, pull them down at the opposite end of the loop. Don’t also forget to smooth out the middle of the knot.
How will I make a bow out of ribbon?
To make a bow out of ribbon, prepare a ribbon, ruler, and a pair of scissors. Cut about 20-inches of ribbon. Once done, make two loops from the ribbon.
Make adjustments to the loops and tails to achieve the size you want. Place the left loop over the right loop, then wrap it around and back through the center. Create a knot by pulling the loops and the tails.
Summary
Putting a bow on a dress can make you look more sophisticated. It is easy to tie a bow perfectly if you follow the steps above. Knowing how to tie a bow on a dress is essential, especially if you want to make your dress stand out from the crowd.

Jessica Oliver is a fashion enthusiast with more than ten years of experience in the industry. She previously managed her own clothing store in New York before becoming a mother of three. With a passion for sustainability and a desire to share clothing care and recycling tips.