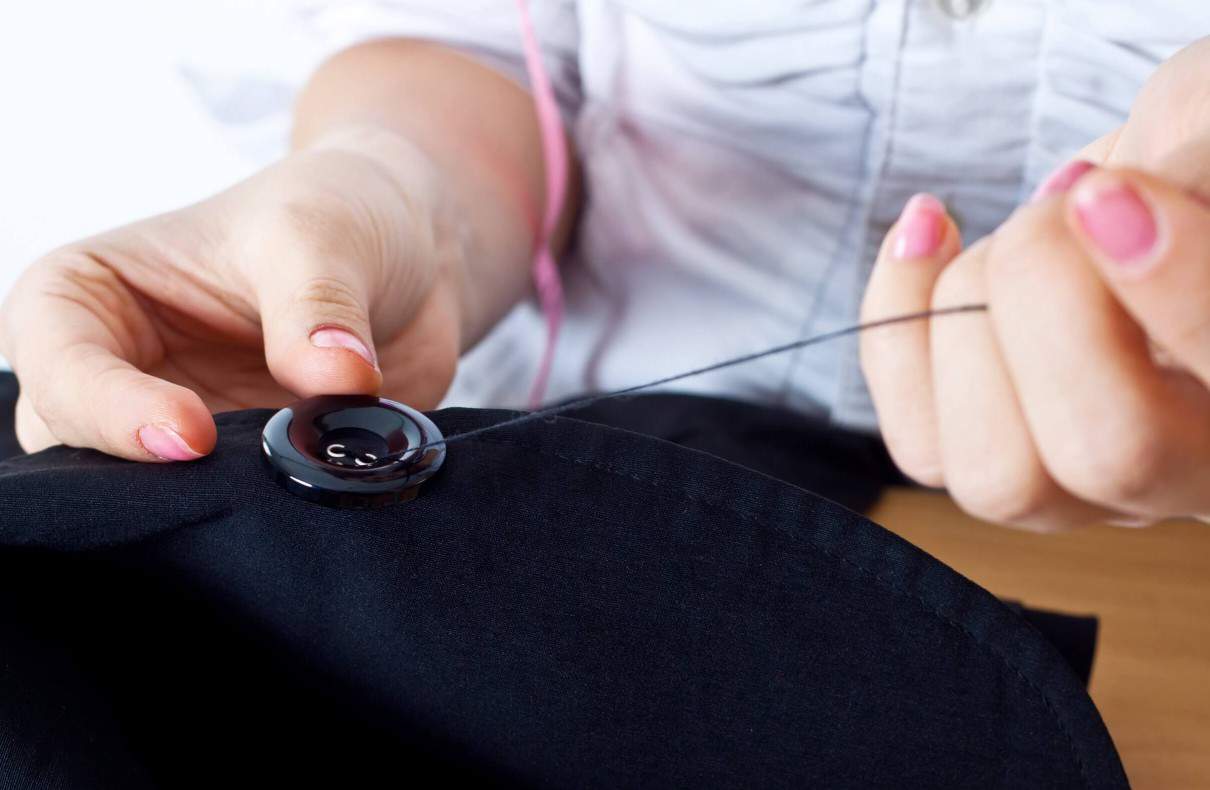
As busy individuals who are always in a rush, we tend to forget the most minor details of our everyday lives.
Tiny details like checking if our shirts’ buttons are still appropriately sewn or not. Sometimes, they get loose, and we don’t even know it.
In situations like these, what will you do? We hope you won’t call a tailor right away!
This beginner’s guide on how to sew a button will help you in such panicking times. Just follow each direction, and you’re all set.
Basic materials for sewing buttons
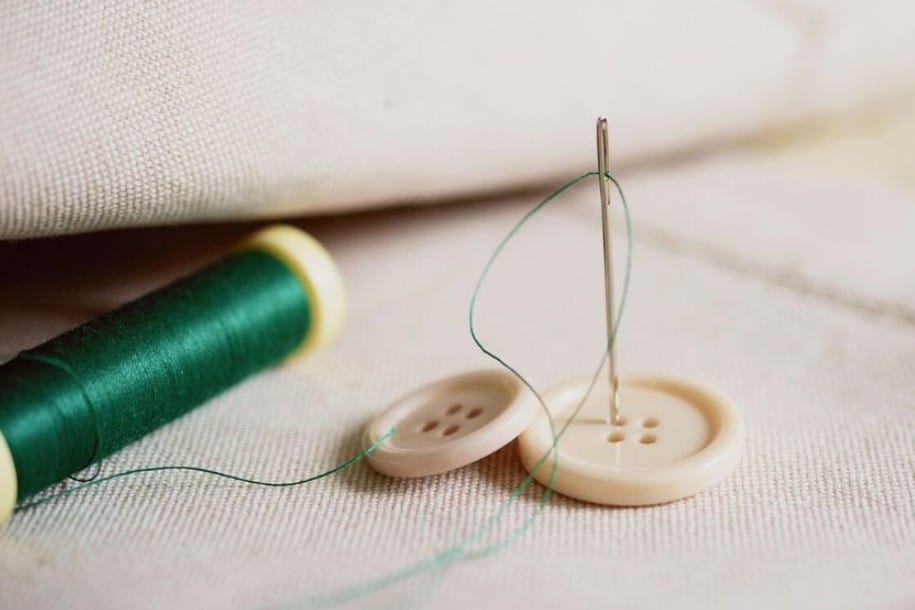
Before diving into the actual procedure of sewing buttons, here are the essential sewing tools you will need.
Sewing thread- Sewing thread is a kind of yarn or string that is used to combine and sew textiles and fabrics. This material comes in different colors. his material comes in different colors, so it’s best to pick the ones that will match the fabric.
Sewing thread is a delicate material. It should be handled with care or else it will get ripped or become threadbare. Since buttons are usually small, you must hold the thread much carefully.
Needle- Needles are used to stitching the fabric. You will need this to sew a button, preferably a smaller size if the button is small too. Needles are typically long and slender. But, it also comes in many sizes.
Scissors- Even people who are not fond of sewing will be familiar with them. But, a scissor called thread nippers is specifically made for sewing.
Although you can still use ordinary scissors when cutting the thread, we suggest you avoid them. Wrong scissors can ruin the sewing thread or the fabric. It is also inconvenient to use.
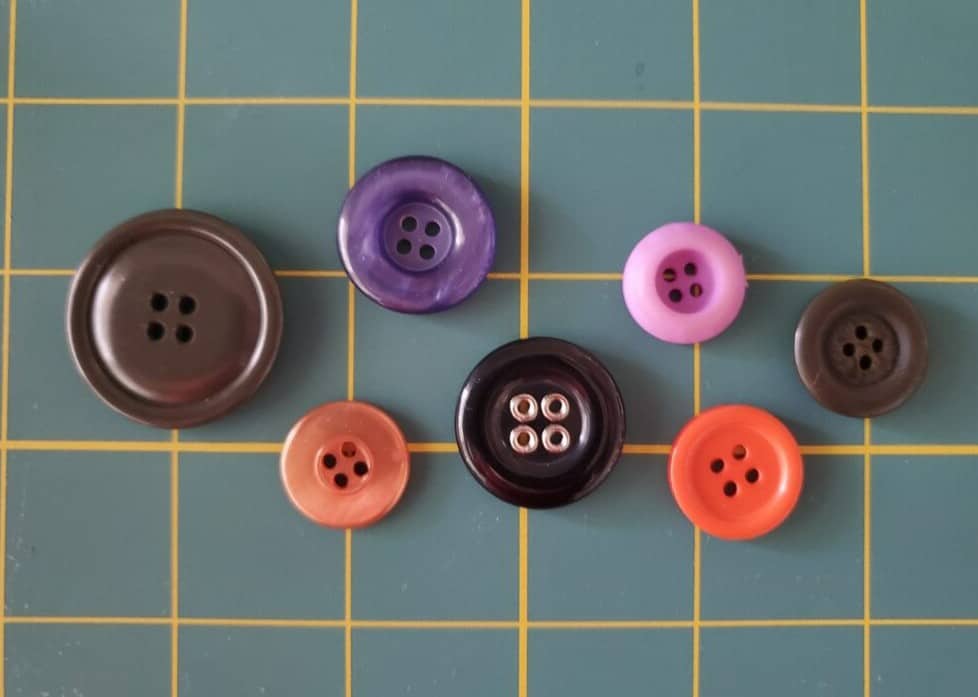
Button- Buttons should not be excluded from the basic materials. It has various types, and each has different purposes. These types include flat, stud, shank, toggle, and decorative buttons.
Note: We listed only four in this list, but there are some optional materials, too, like beeswax, ink fabric pen, and toothpick.
What are flat buttons?
Flat buttons are also called buttons. Basically, these are the buttons you can typically see on shirts and other clothing.
Flat buttons are the easiest to sew. Since they are flat, they are less troublesome to sew. Hence, probably the reason why it’s the most used among other types of buttons.
This type of button has visible holes. Holes that sometimes vary to two, three, or four. Each should be sewn differently.
Let us now proceed with the sewing process.
How to sew flat buttons? (by hand)

Preparation phase
As the name says, this phase of the sewing process is where you will prepare all the tools you need. Ensure that you have collected all the essential tools. If you want to use the optional ones, it is fine too.
Check if the needle and scissors are still sharp. Choose the right color of sewing thread. Decide what buttons you will use: two, three, or four holes. Lastly, know which area on the fabric you will put the button.
This is also the phase where you’ll need to put enough thread into the needle.
Sewing phase
The sewing phase is the crucial part. It is where you will do the actual sewing of the button. You can follow the steps below for better results.
- Step 1: Sew on the hole that is nearest to you. Make sure that the motion of the needle is from underneath to the top.
- Step 2: From the needle on top, sew it back downwards on the hole across the first hole where you sew. Do this over and over four times to ensure stability.
- Step 3: Make a shank between the button and the fabric. Doing this will secure the button in place. To do this, sew the thread just between the button and the fabric. Do not let it pass through. Then, wrap the thread in a circular motion, and do it 4 times. This step is applicable no matter how many holes the button has.
- Step 4: Lock the thread. Sew the thread back only to the fabric. Make a stitch, and pull the thread just enough to have a thread arch. Pass the thread through the arch, then pull it again until it tightens. Do this 2 or 3 times.
Cleaning phase
The last phase is the easiest. You must make it look decent. Cut the thread and check if there are loose parts that need to be redone.
Guide summary for different numbers of holes
We know that the above step-by-step procedure we gave you is for general flat buttons. But, to make it more specific, here is a simple guide summary you can use for different numbers of holes.
2 holes
Sew on the hole upward → Sew it again down on the hole across → Do the first two steps again for 4 times → Make a shank → Lock the thread → Cut the thread
3 holes
Sew on the hole upward → Sew again downward on the second hole → Sew again upward on the third hole → Repeat the first three steps for 4 times → Make a shank → Lock the thread → Cut the thread
4 holes
Sew on the hole upward → Sew it down on the hole across → Repeat the first two steps 4 times → Do the first three steps for the new next pair of holes (side by side holes) → Make a shank → Lock the thread → Cut the thread
Here is a simple video for sewing a four-hole button:
How to sew flat buttons? (by machine)
Sewing the buttons using a machine is easier than by hand. It is also more advantageous and systematic to use. But, it has some downsides too.
One obvious disadvantage of it is that not everyone can use these kinds of machines. It takes months or even years to know how to manipulate it and understand the basics. Plus, the number of technical terms you need to analyze is plenty.
Nevertheless, here are the steps to sew buttons using a sewing machine.
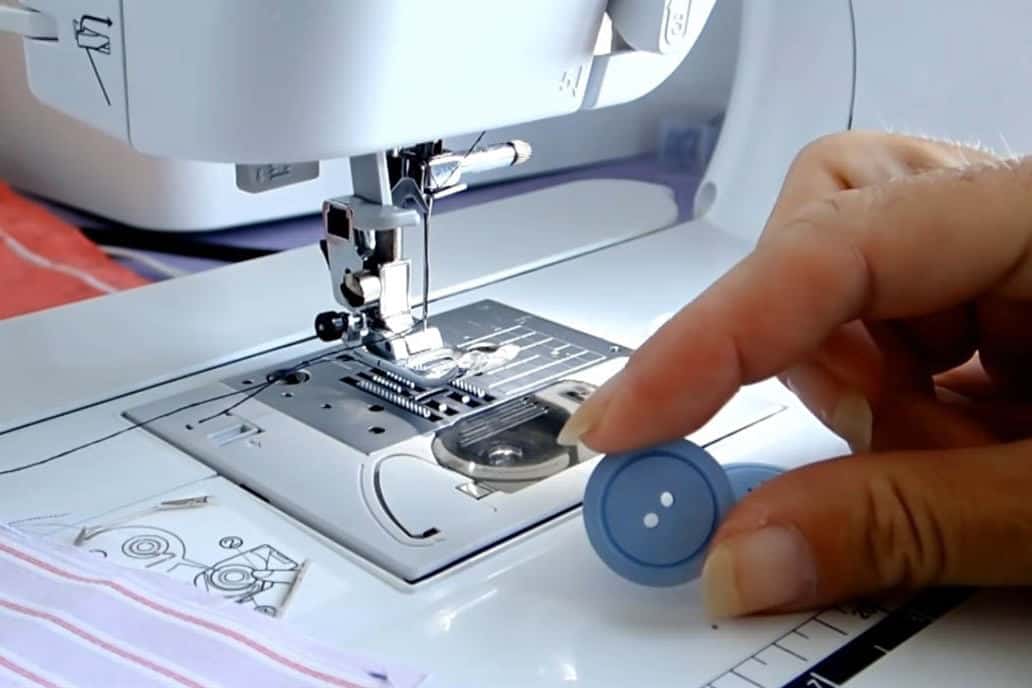
Step 1: Prepare the materials
Ensure that the sewing machine is functioning correctly for safety reasons.
Next are the other basic materials needed, like the button, garment, scissors, and a button sewing foot. The latter is optional, but it may be a big help for people who are not used to sewing machines.
Step 2: Set the machine
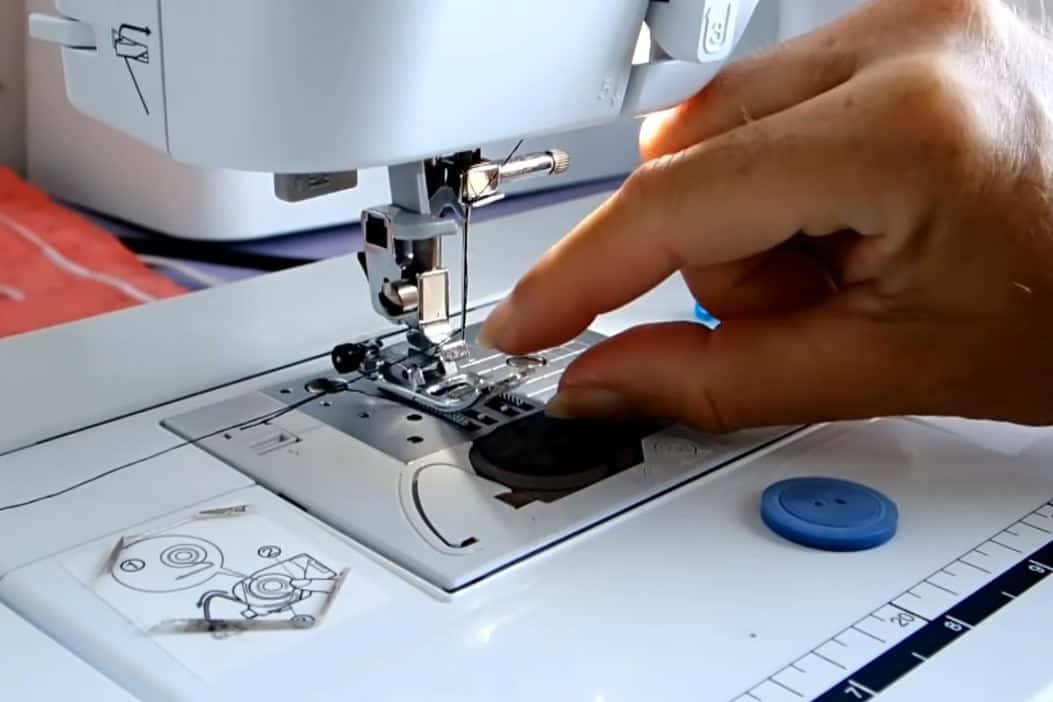
After checking if the machine is functioning well, the next step is to set it up! This is crucial because if you set it in the wrong setting, the results may not become admirable.
So, here it is. Put the machine on a zig-zag stitch setting. Meanwhile, the stitch length should be placed at zero, and the stitch width solely depends on your judgment. You have to adjust the needle manually.
You should remember that the needle should not hit the button!
Step 3: Sewing the button
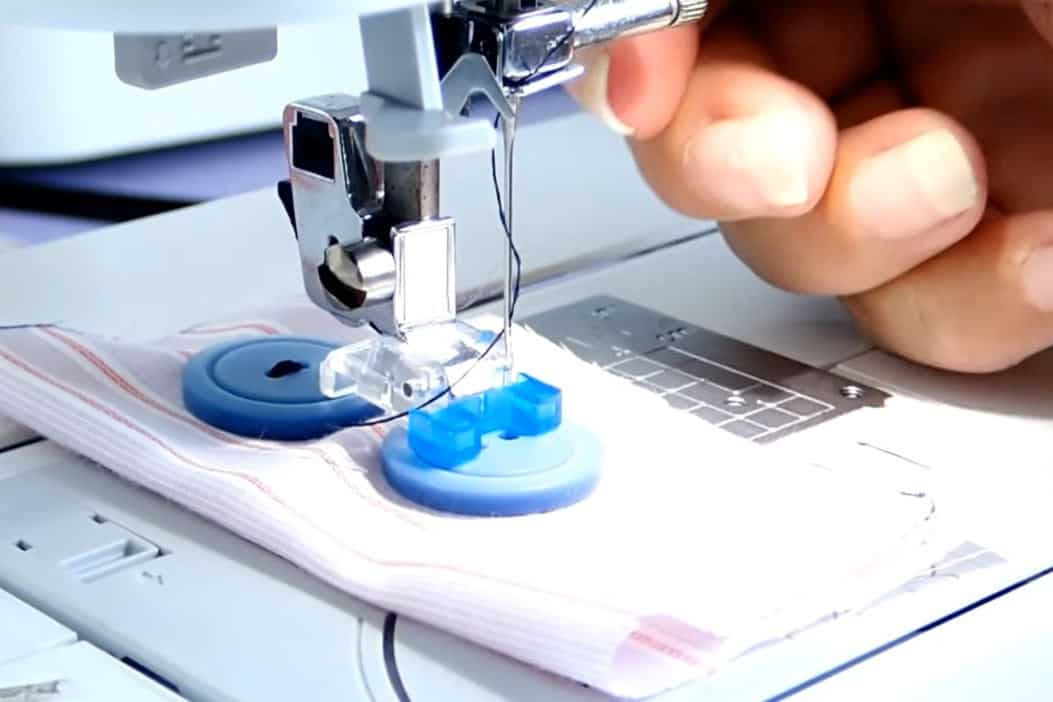
Once you already place the button on the machine, you can now start sewing it on the garment. It will automatically have one direction since you set it on zig-zag mode.
You need to control the number of stitches. Typically, 10 stitches are enough to secure the button in place.
Step 4: Cut the loose threads
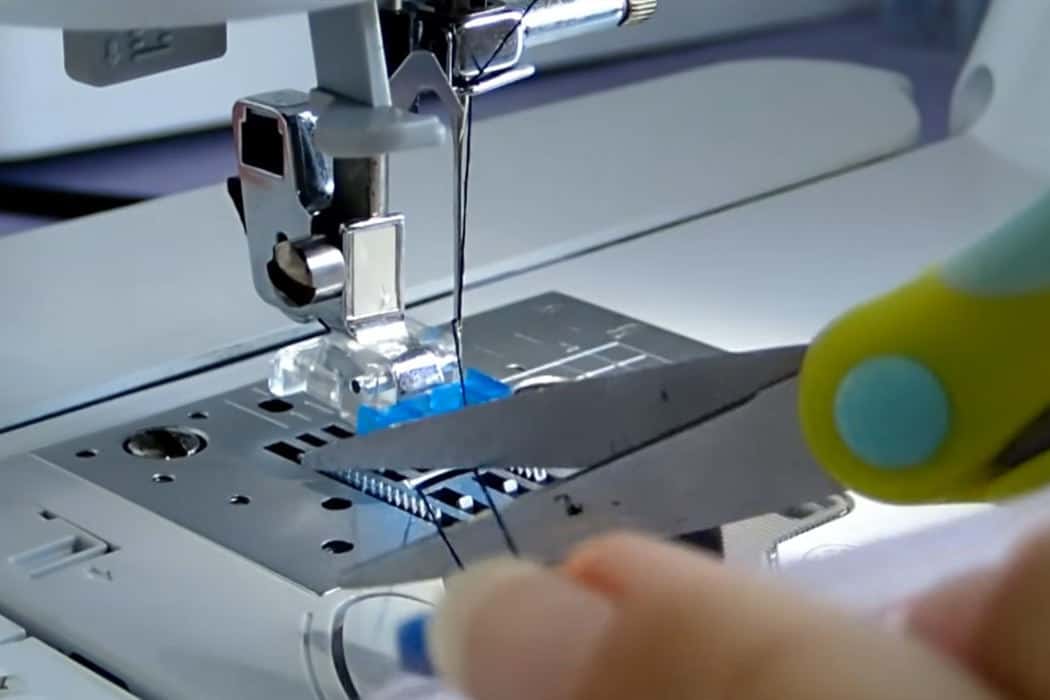
If you are sure that the button is sewn correctly, you can cut the excess threads at the back of the garment.
You can get a reference from this video:
Additional tips for sewing buttons
- Try to always start sewing from the back of the fabric in hand sewing. This way, the knotted thread will not be visible.
- When using a sewing machine, using a button foot is highly advisable. It is a great help!
- If you don’t have a button foot, a tape or a safety pin can be your option.
- Beeswax is also helpful in making the threads’ quality better. Use it to coat the thread, but it is not mandatory.
- You can make a DIY thread shank using a matchstick or toothpick.
- Always sew in one direction. Do this to avoid messy sewn buttons. Especially if it is a flat button where the threads are visible.
- Practice on scrap fabric before sewing on the actual garment. This is important, especially if it is your first time. Better be safe than sorry!
- When choosing the kind of button to use, it is essential to consider its washability and weight.
Plastic buttons are ideal for those who prefer low-maintenance laundry. Metal and ceramic buttons need more care than usual.
Summary
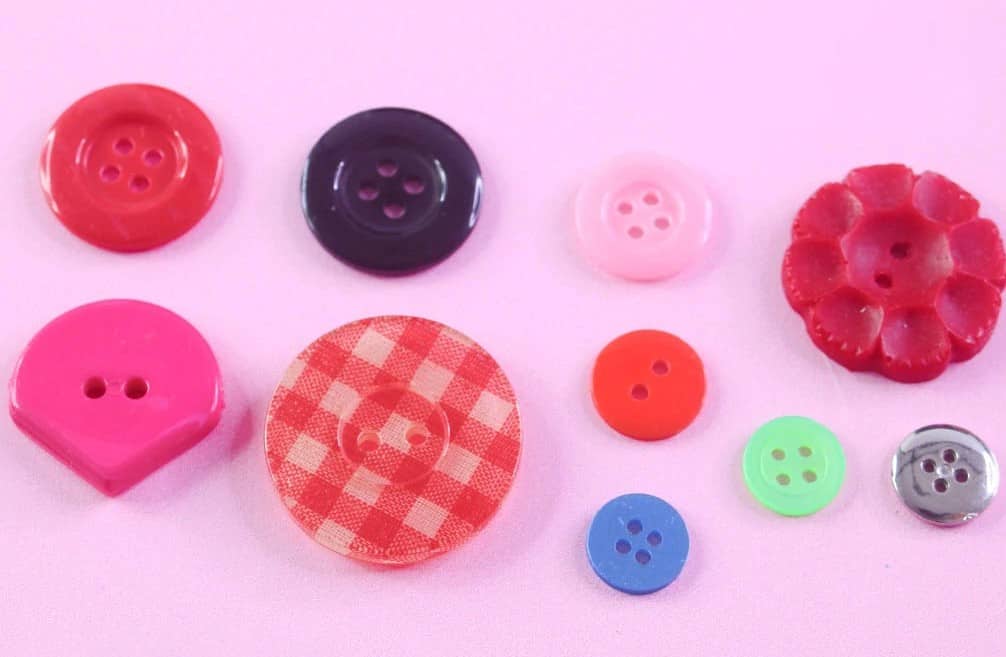
Buttons have different types, hole numbers, colors, and sizes. That’s why other sewing techniques are needed too.
Although it might seem a hassle talking about it, we still encourage you to do it. Whether by hand or by machine, the experience will be worth it. Just remember to practice what’s best for you.
That concludes this blog. We hope it guided you to learn how to sew a button!

Jessica Oliver is a fashion enthusiast with more than ten years of experience in the industry. She previously managed her own clothing store in New York before becoming a mother of three. With a passion for sustainability and a desire to share clothing care and recycling tips.